This article will guide you on how to edit or overwrite an employee's EA Form.
The Overwrite EA Form screen allows you to manually edit specific details, such as serial numbers or item amounts, when adjustments are required outside of standard payroll processing.
Important:
- Overwrite EA Form only applies changes to the EA Form itself. It doesn't update processed payrolls or the Payroll Figures Take On (PFTO) screen.
- Reprocessing a payroll will reset the EA Form to the original calculated amounts, discarding any manual overwrites.
- Use the overwrite function only for urgent final form adjustments rather than standard data entry.
You can perform an overwrite using two methods:
- Transaction: For manual edits to a single employee's EA form. (Individual)
- Import Tool: For updating multiple employee records simultaneously via a template. (Bulk)
Explanation of date of commencement and date of cessation:
Kindly be informed that both the commencement and cessation dates are based on the Hired/Rehired/Resigned date that is within the year of remuneration in the company.
For examples:
i) Staff A was hired and resigned in the same year; the Commencement Date and Date of Cessation will be displayed.
ii) Staff B was hired in 2024 and then resigned in Feb 2026.
2024 EA: show date of commencement;
2025 EA: empty both dates;
2026 EA: show date of cessation
iii) Staff C was hired in November 2025, the date of commencement is displayed for 2025 EA.
i. Overwrite EA Form via Transaction
Step 1
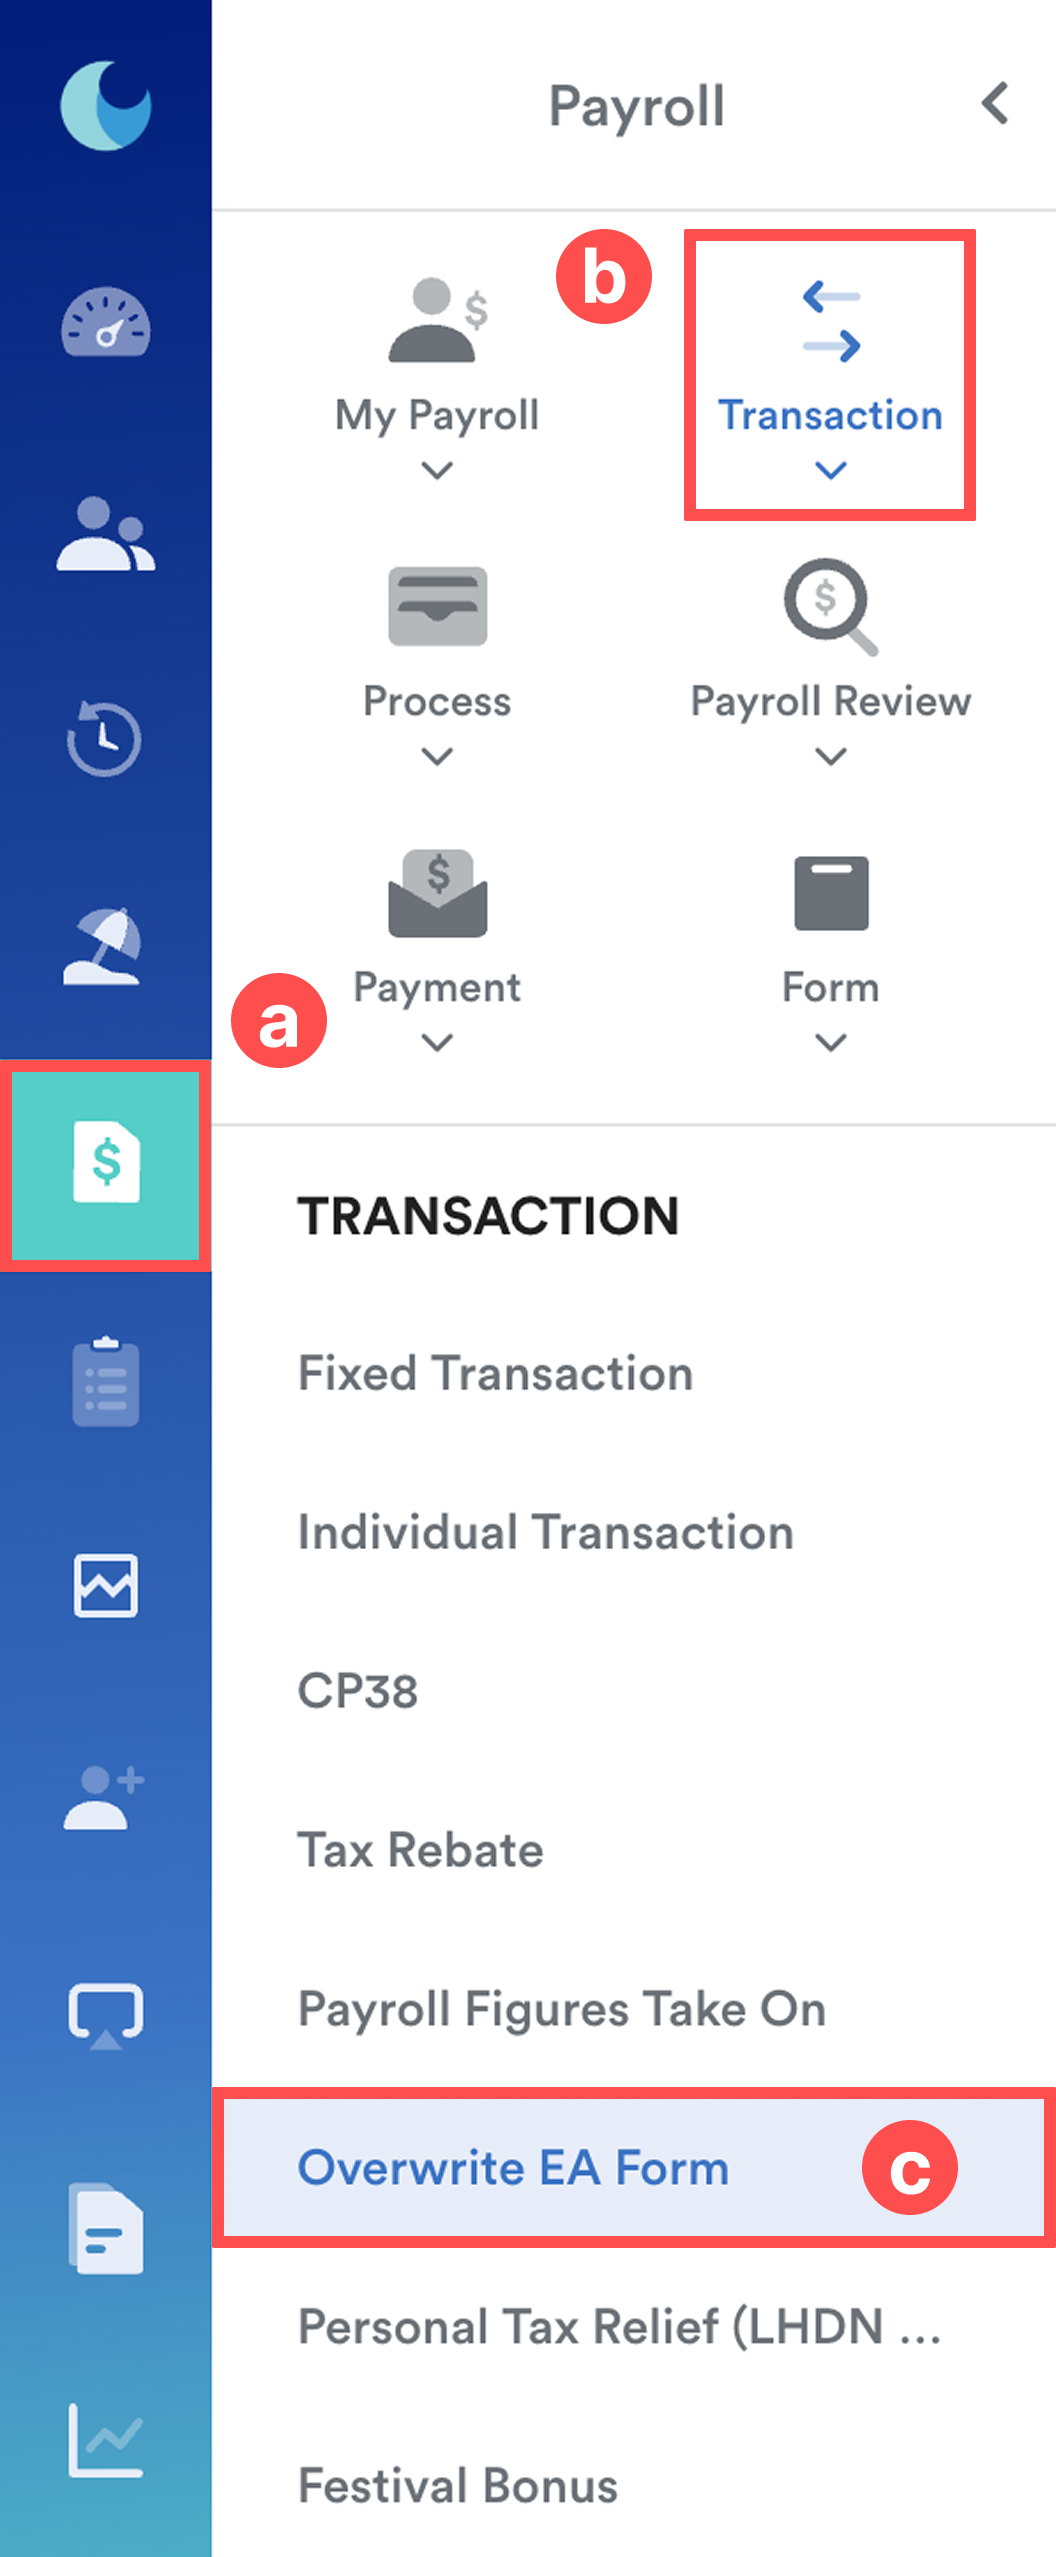
On the left menu, go to Payroll (a) > Transaction (b) > Overwrite EA Form (c).
Step 2
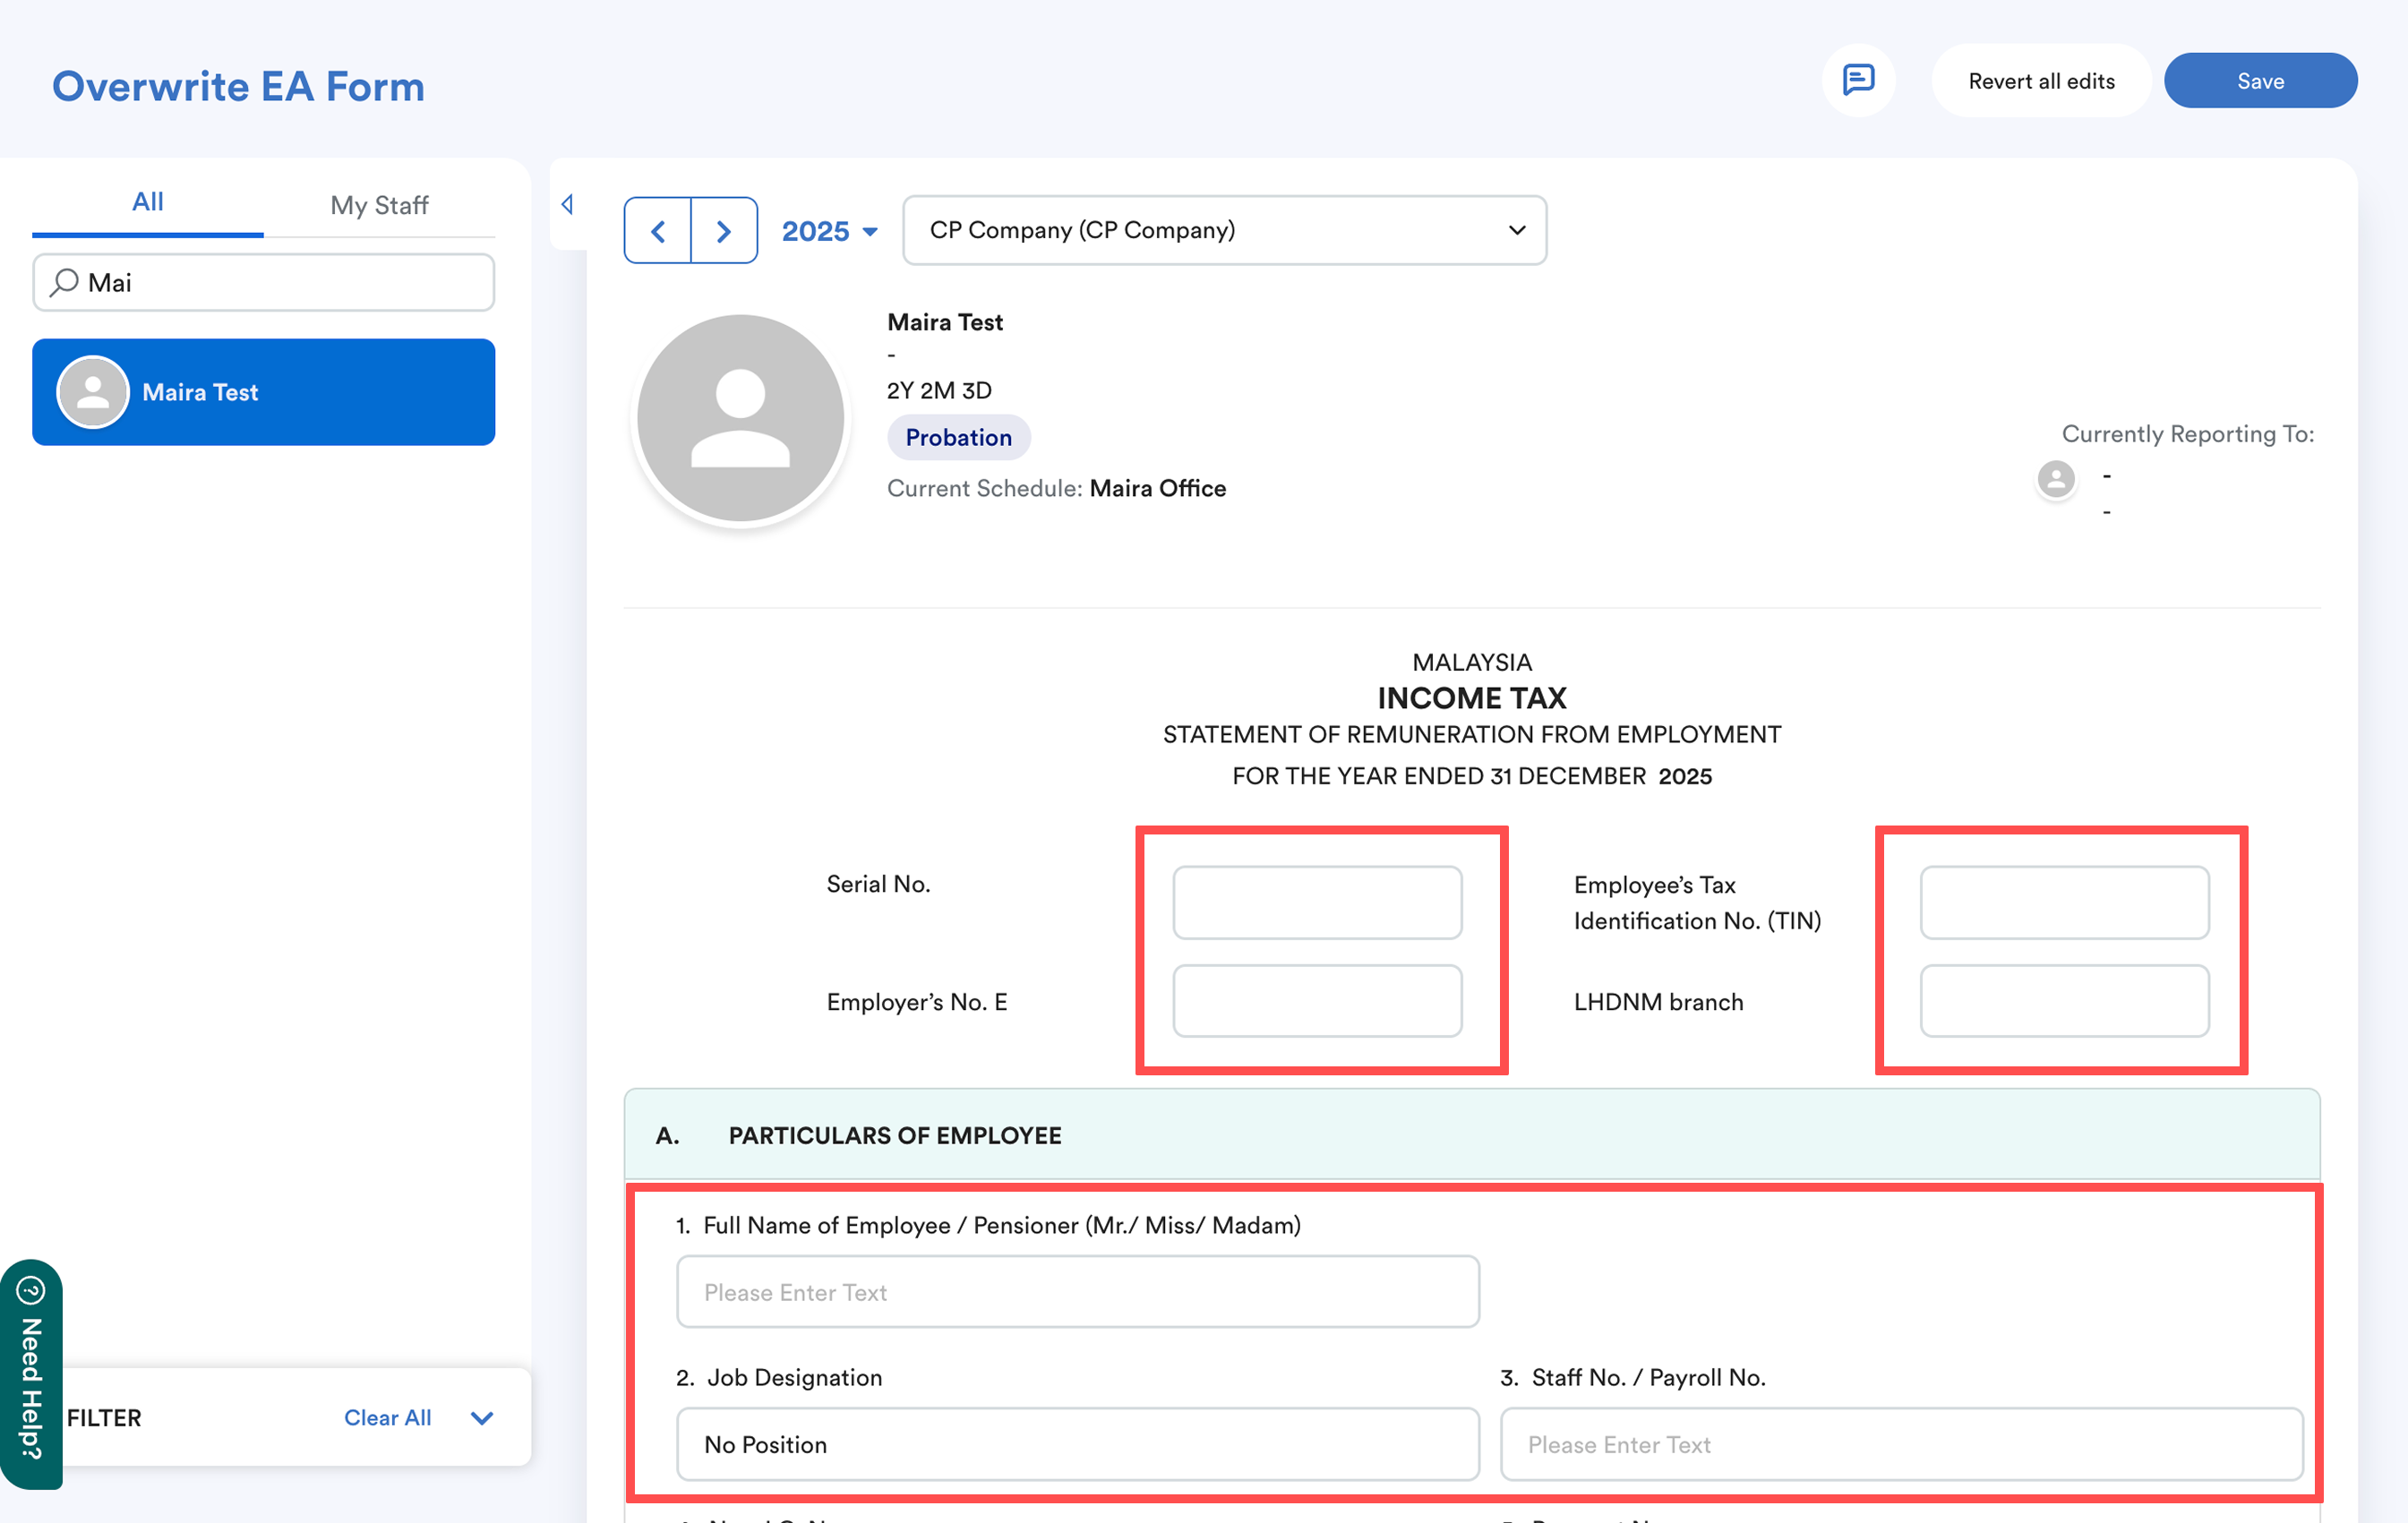
a. Select the relevant employee
b. Select the year and the company
c. Click Edit

Step 3
Once you click Edit, the system will enable all adjustable fields.
Note:
An employee can either overwrite the IC or passport number at one time; the IC will be prioritised. If you choose to overwrite IC, you cannot overwrite the passport.
- If the employee has both an IC and a passport, they will only be able to edit the IC.
- If the employee has an IC but not a passport, they will only be able to edit the IC.
- If the employee does not have an IC but has a passport, they will only be able to edit the passport.
- If the employee does not have either an IC or a passport, they will be able to edit either one, but the IC will be prioritized if both are added.
Locate the specific section or field you wish to modify and enter the new amounts or details.

Click Save to confirm and apply the changes.
ii. Overwrite EA Form via Import Tool
Step 1
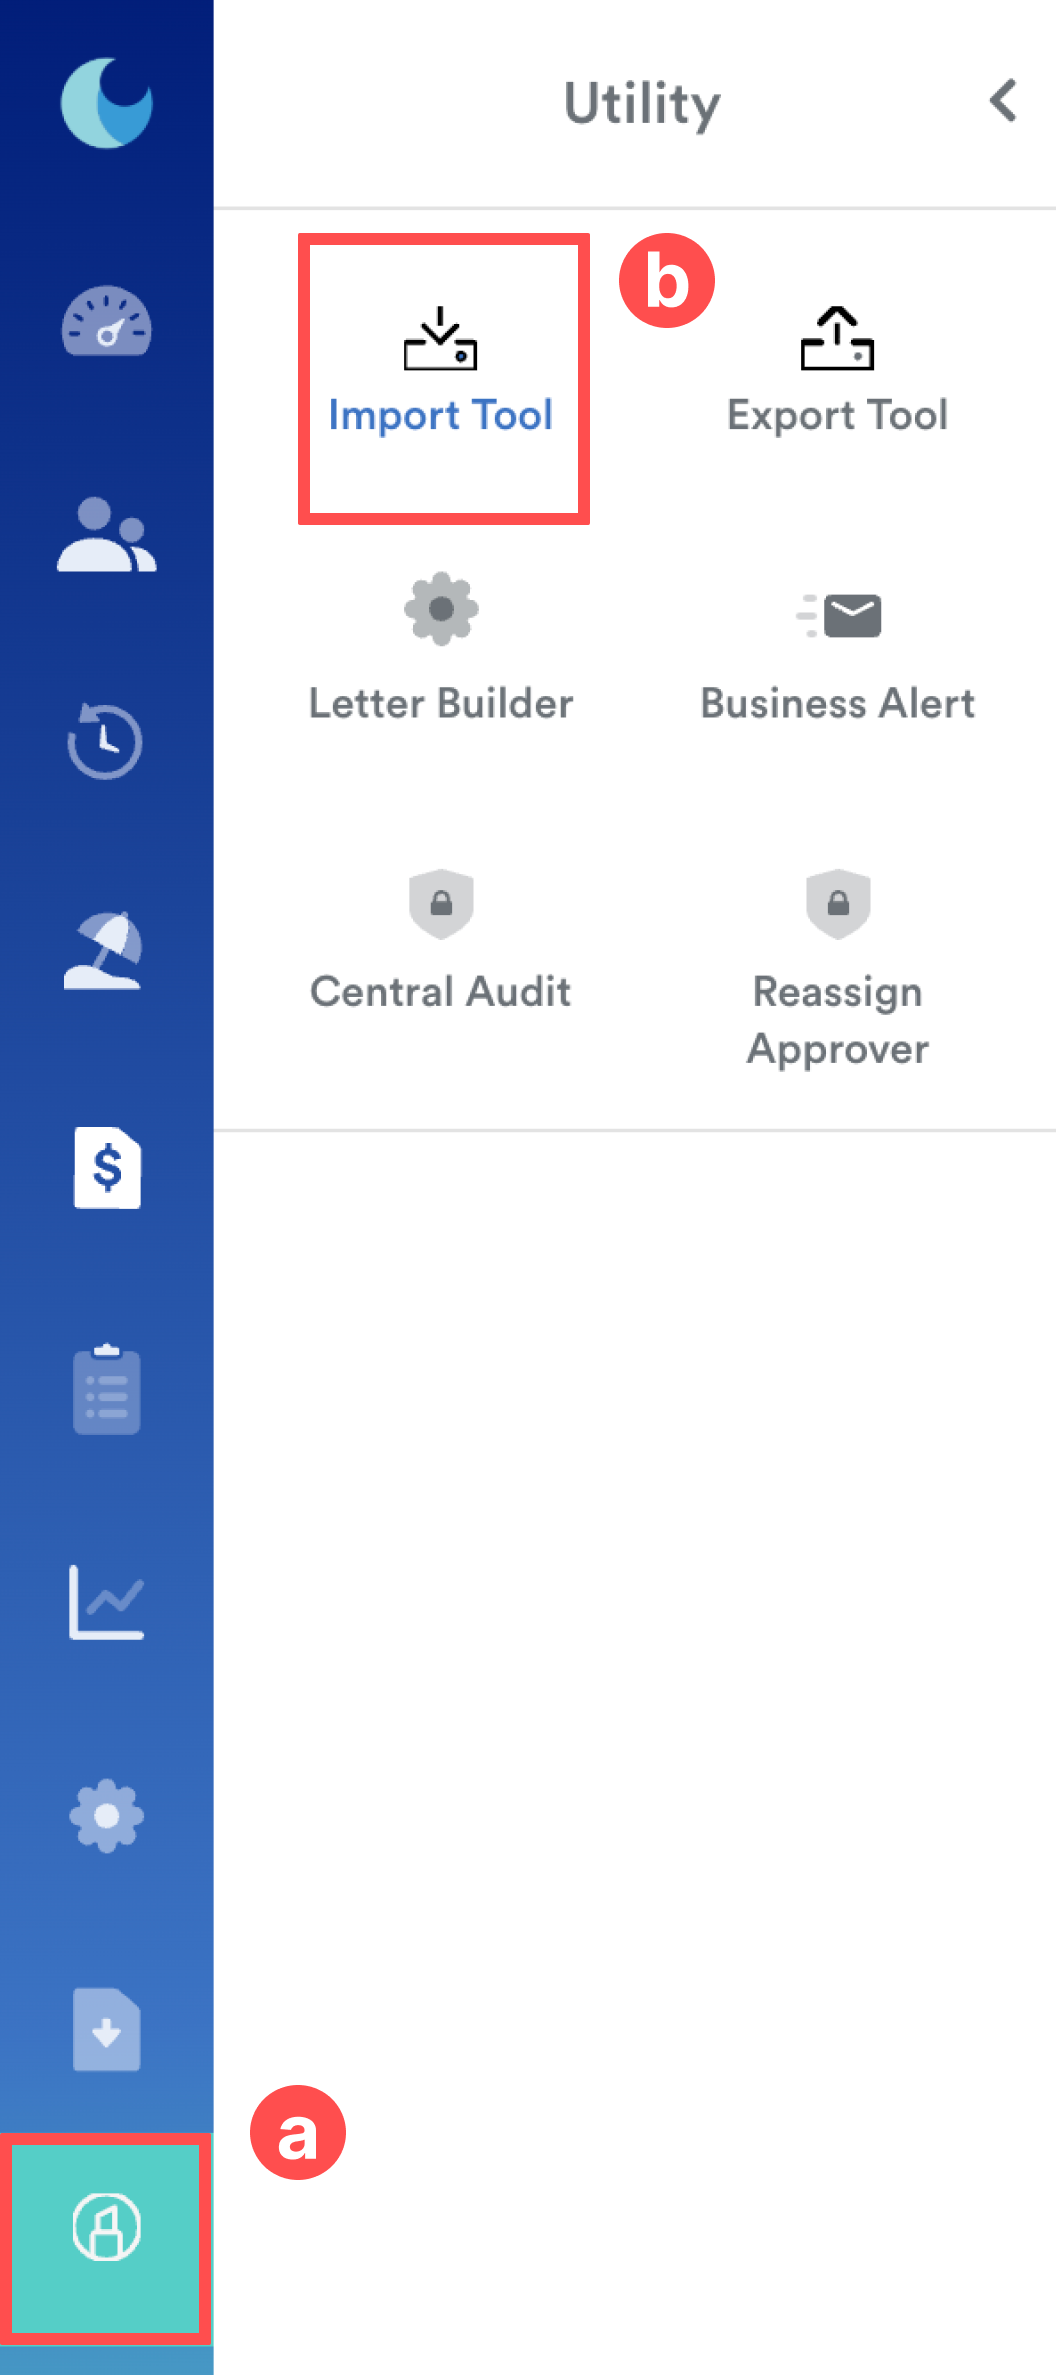
On the left menu, go to Utility (a) > Import Tool (b).
Step 2
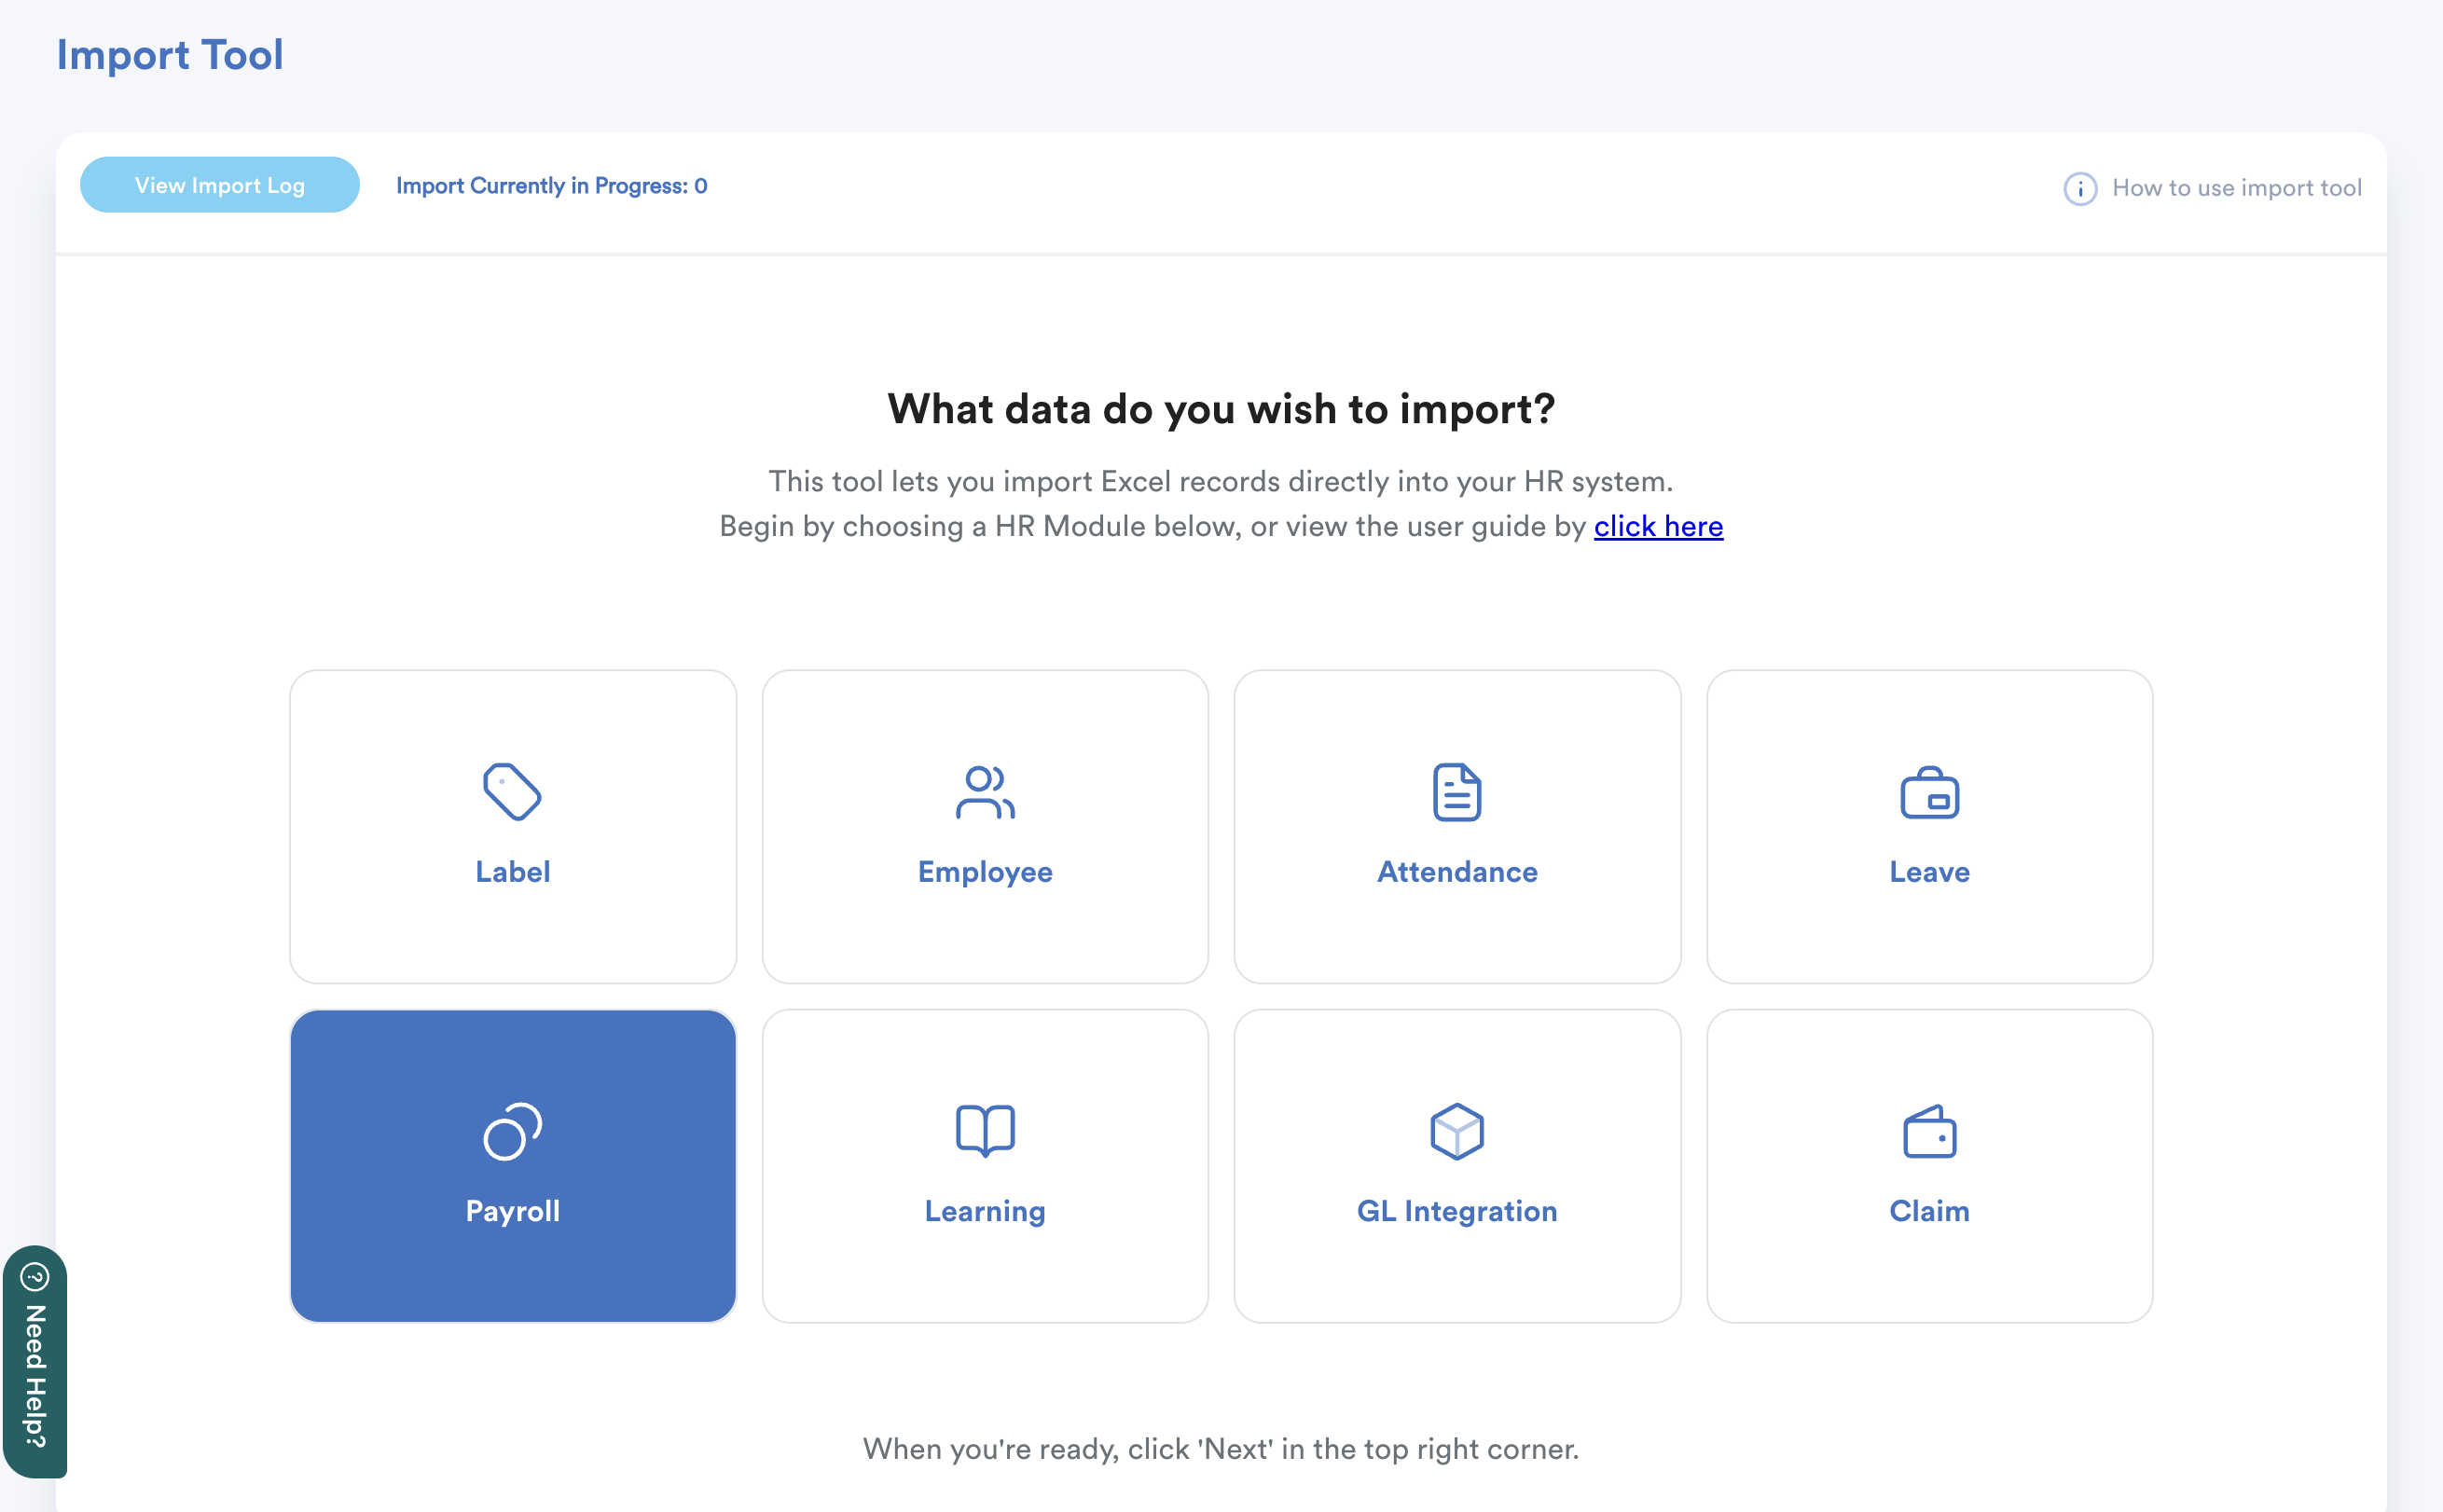
Select Payroll module.
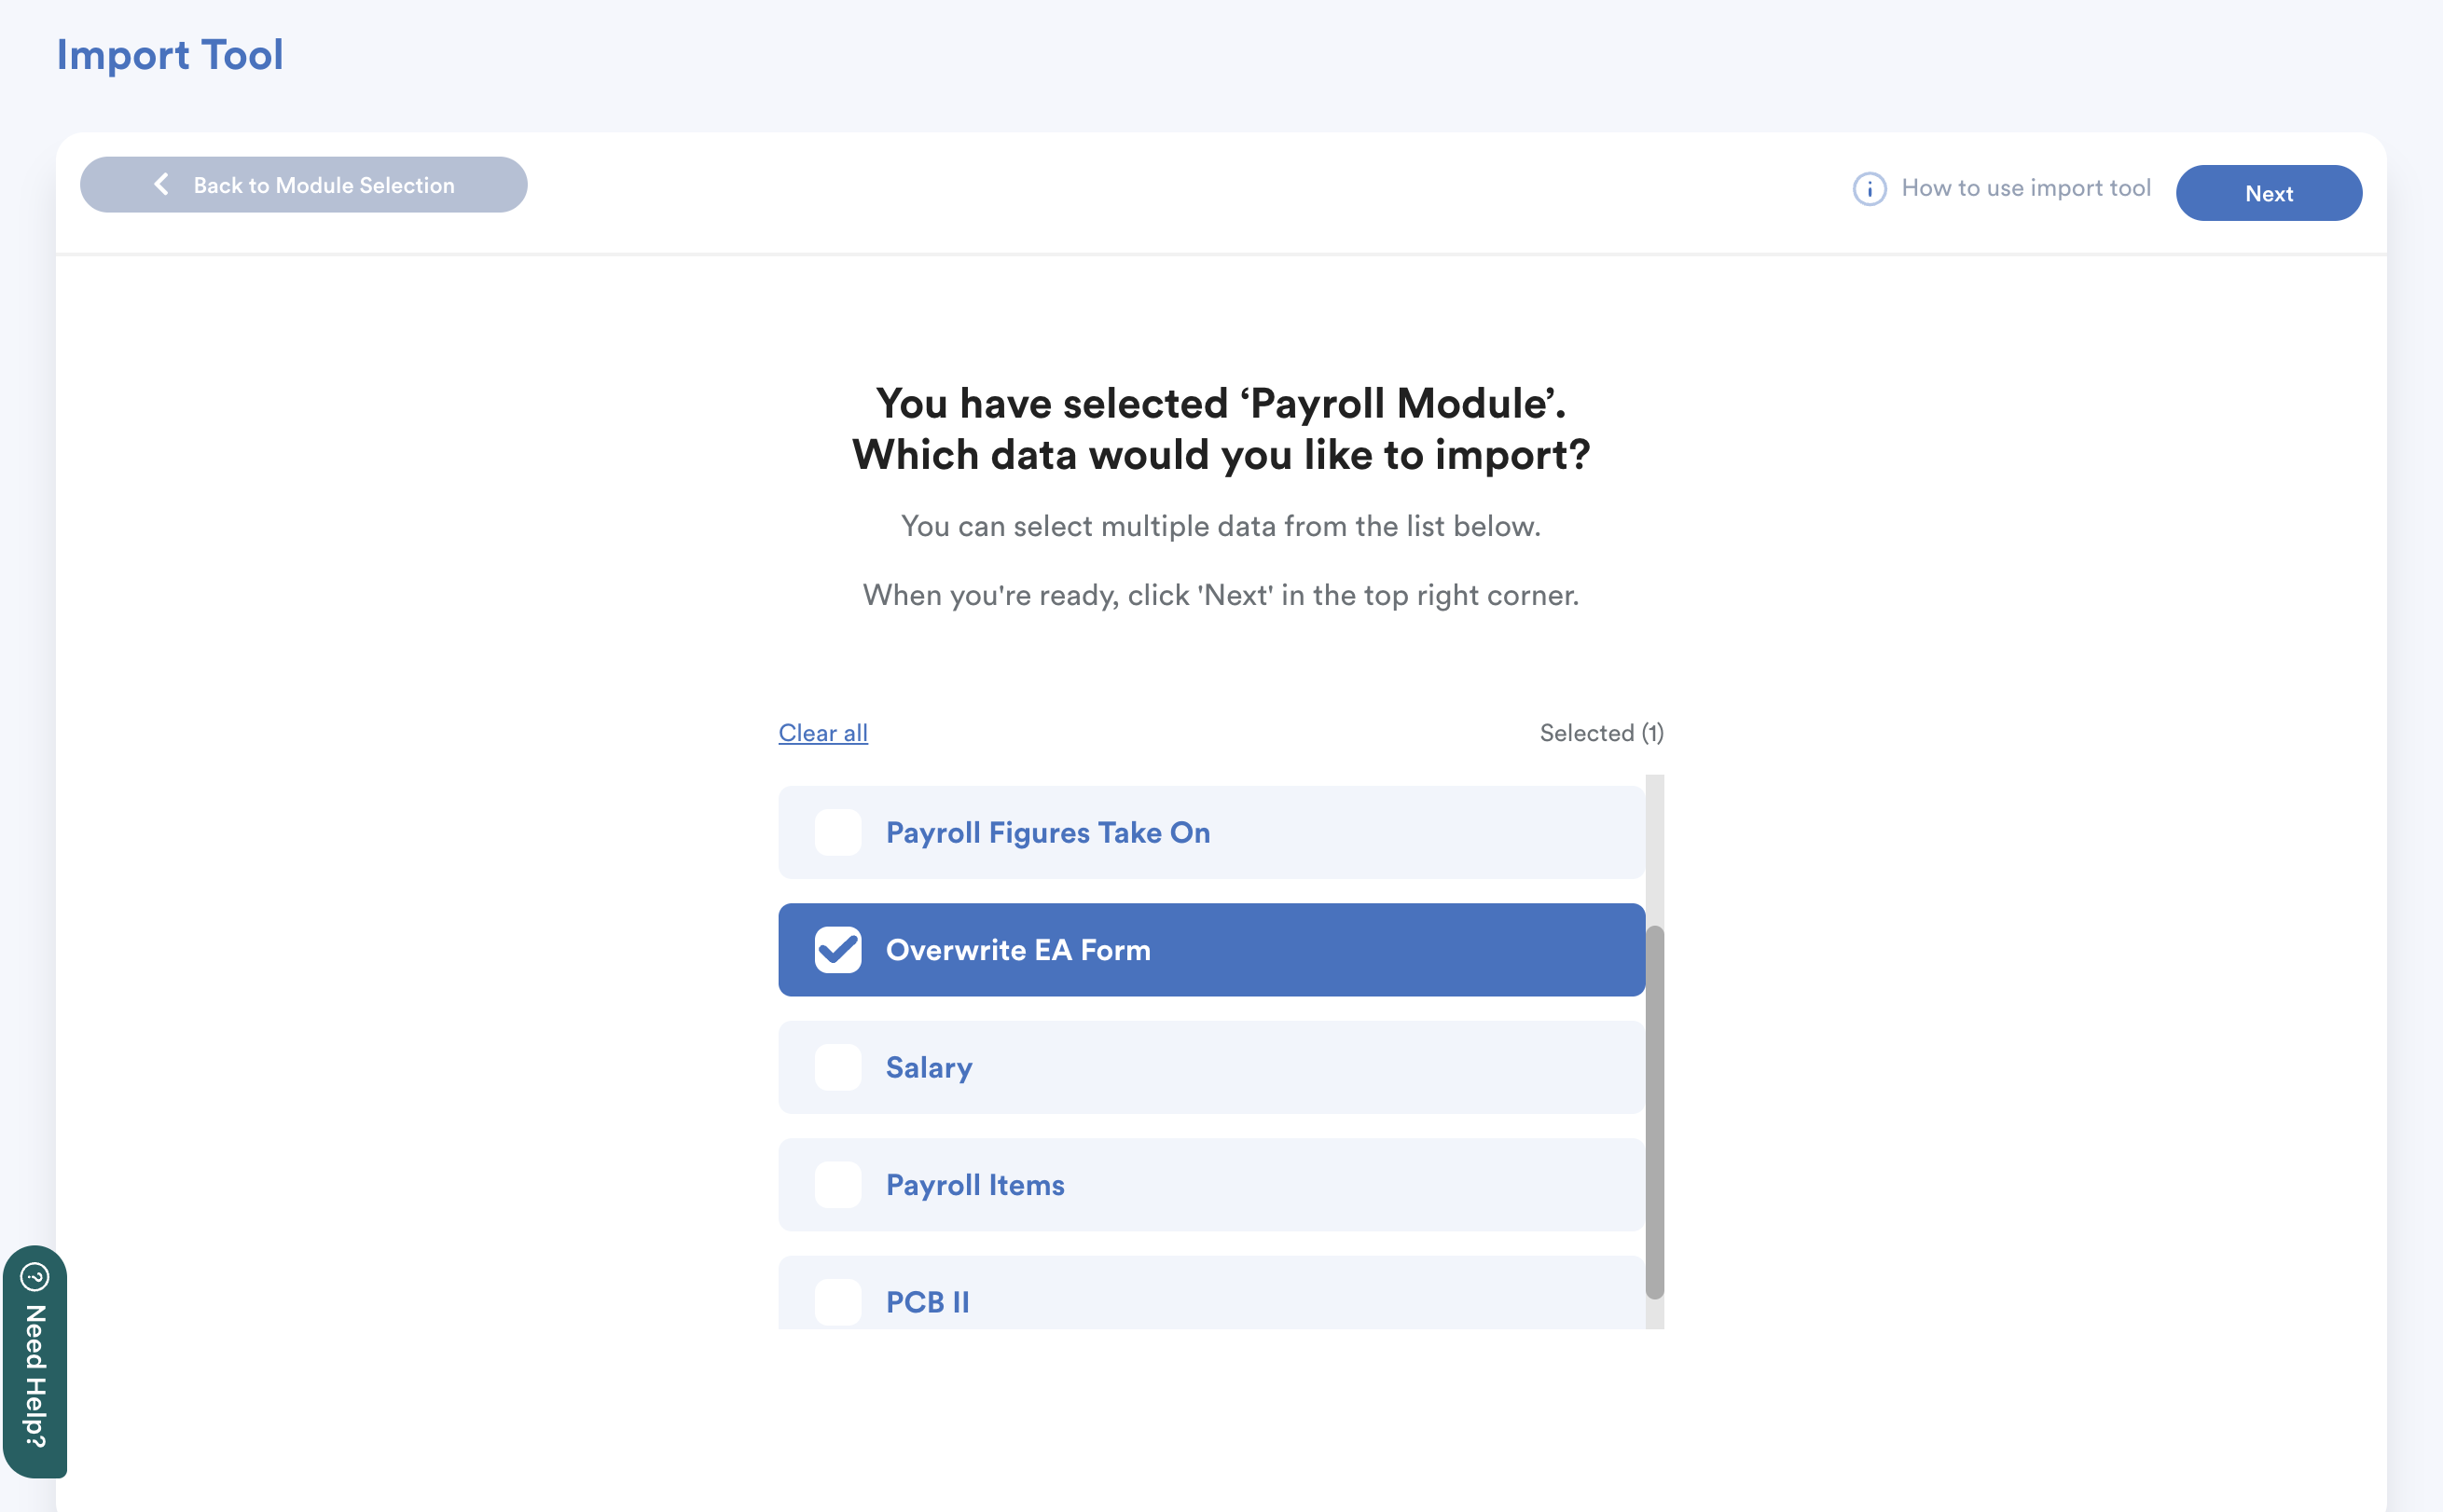
Step 3
Select Overwrite EA Form from the data list. Then, click Next.
Step 4
Click the downwards button in the left column to download the import template. Fill in the required details in the template.
Tip: You can click the "How to Import" button for a detailed guide on how to fill in the file correctly.
Once ready, upload the file by clicking the upwards arrow button in the right-side column.
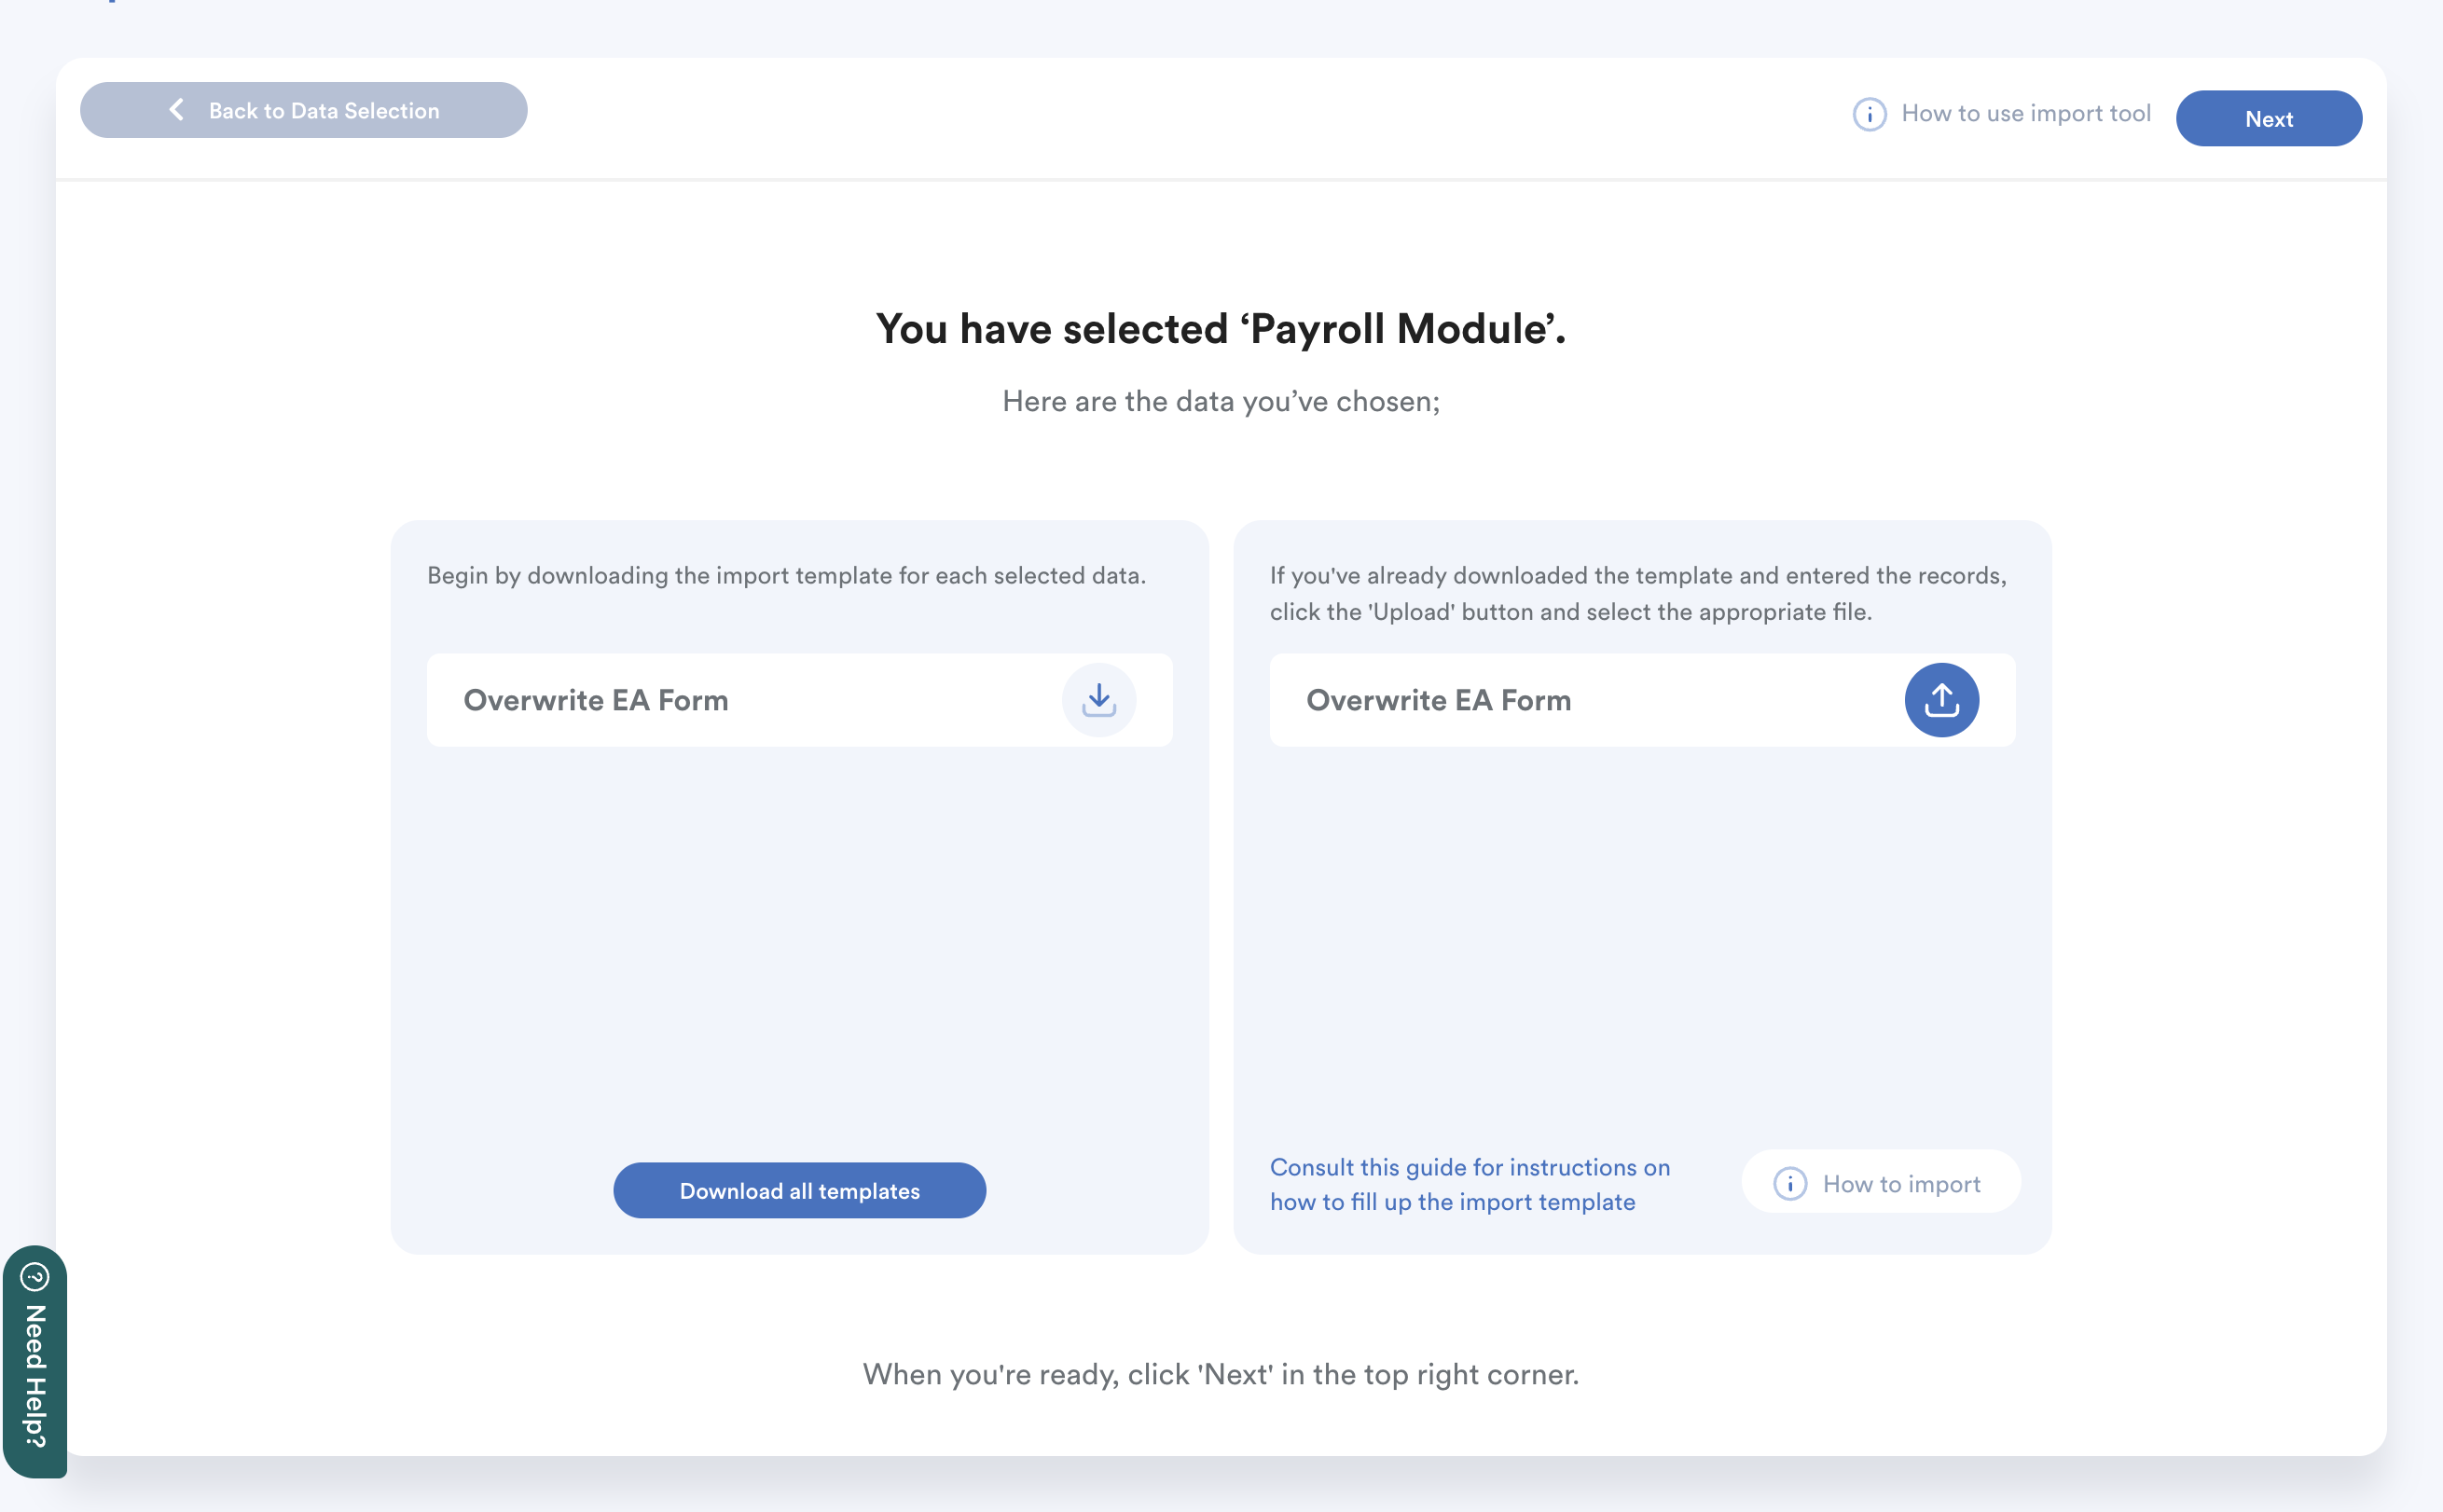
Click Next at the top right of the screen to begin the process.
Step 5
The Import Status screen will appear to show the upload progress. Click Done—the system will continue processing the import in the background.
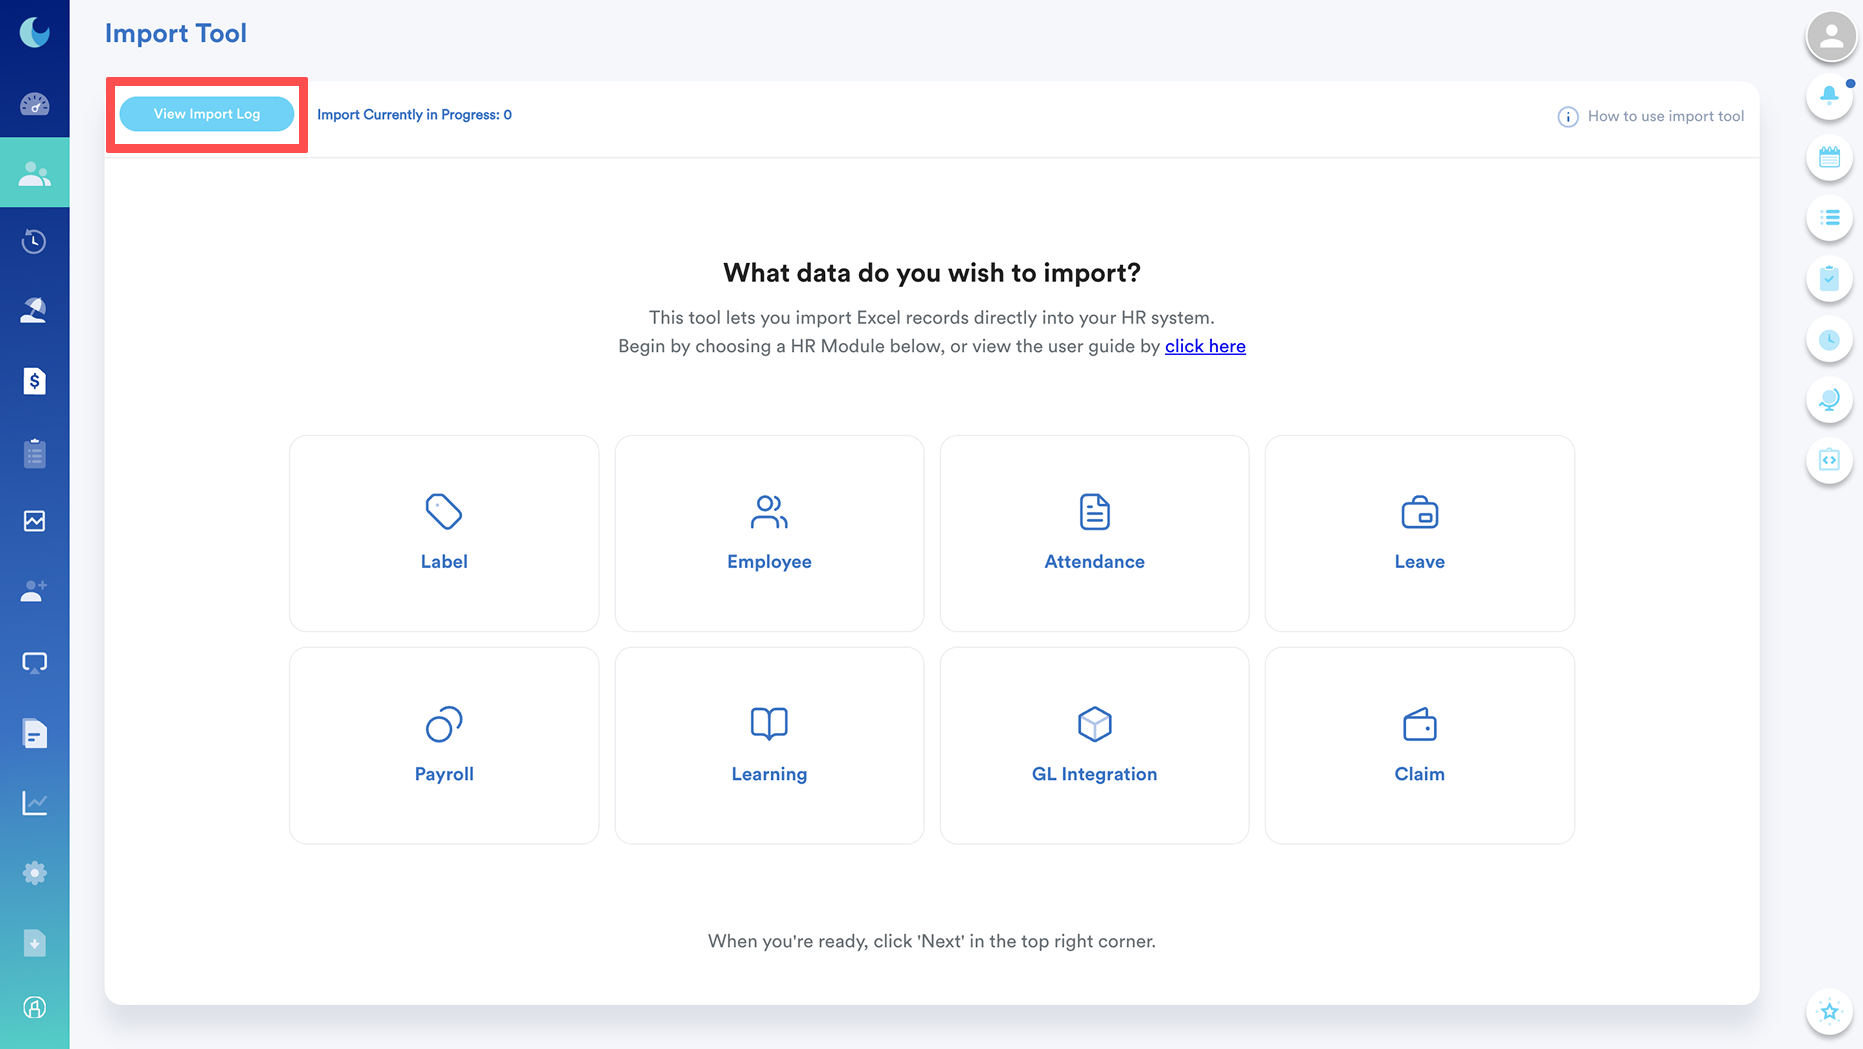
You'll be redirected to the main Import Tool screen.
Click View Import Log to monitor the history and status of your uploads.
There are 3 tabs available in the Log:
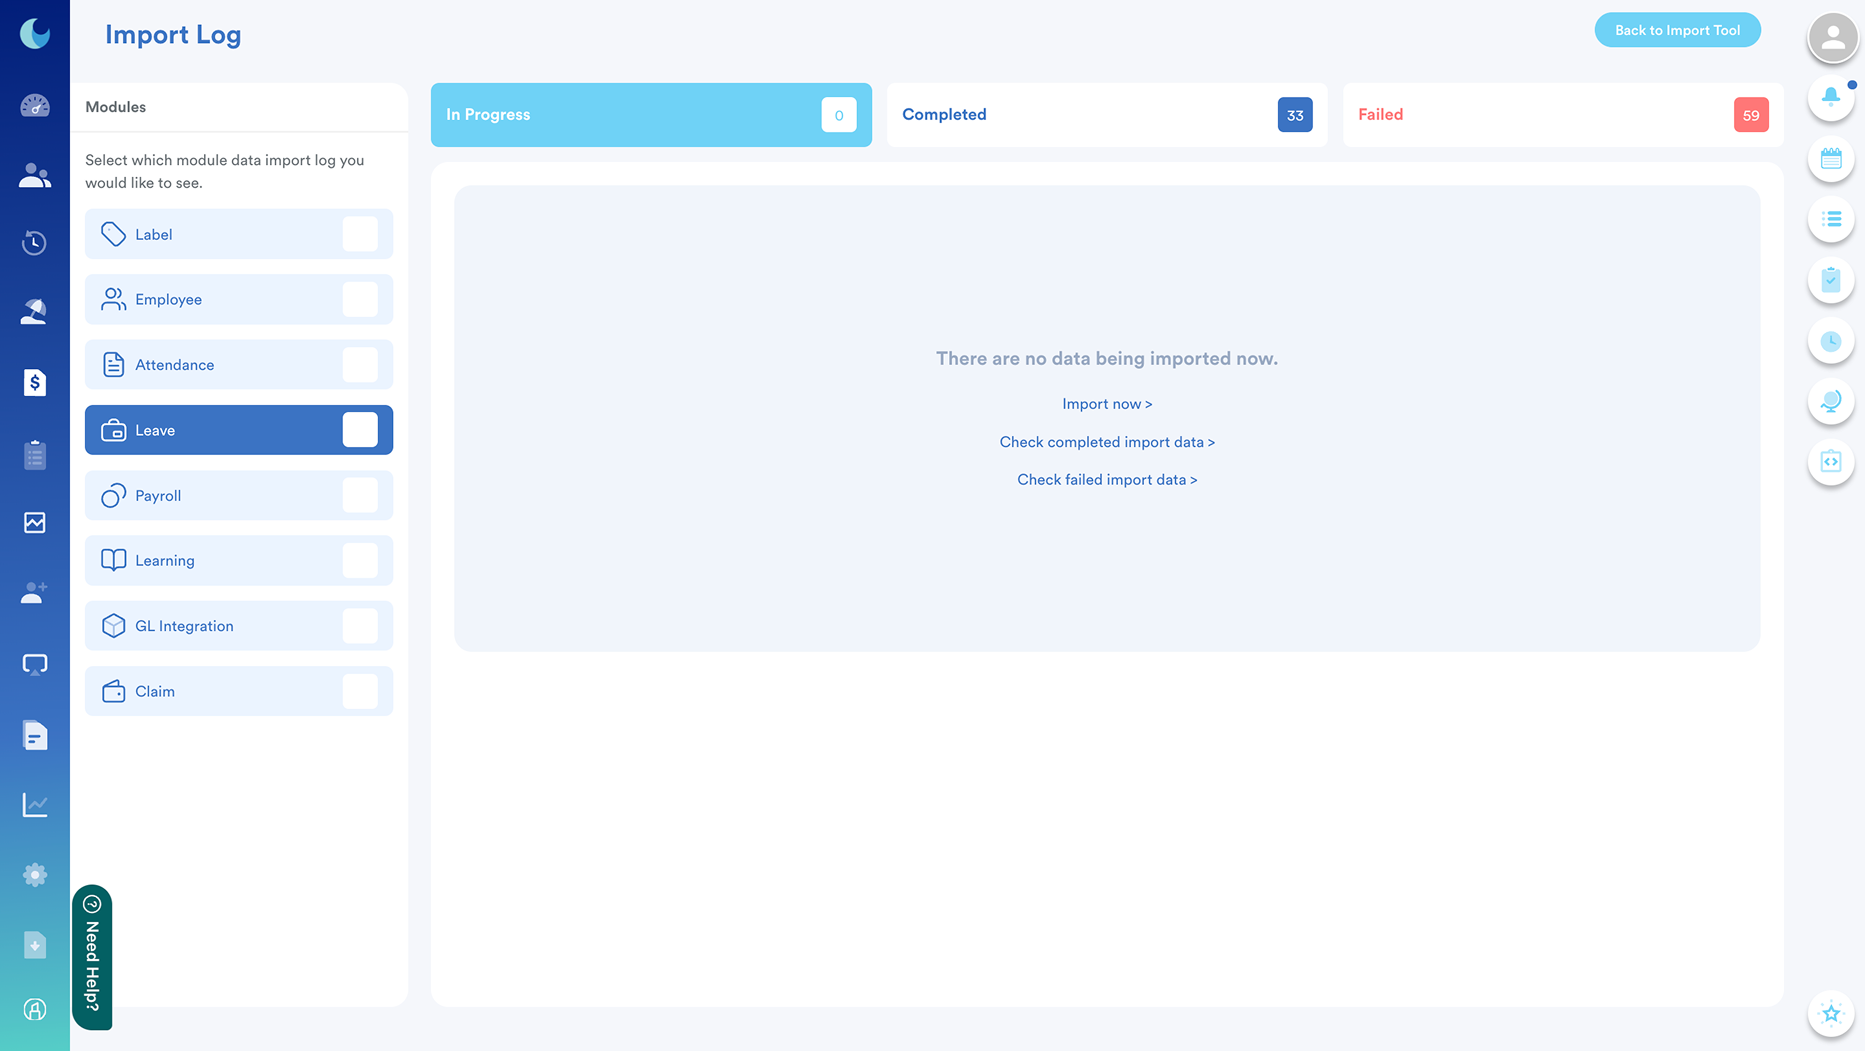
- In Progress: Imports currently being processed.
- Completed: Files that have been successfully uploaded.
- Failed: Files containing errors. You can download the error log to identify and fix issues before re-uploading.
We hope this explanation clarifies the matter. If you require further assistance, please don't hesitate to contact our support team.
Was this article helpful?
That’s Great!
Thank you for your feedback
Sorry! We couldn't be helpful
Thank you for your feedback
Feedback sent
We appreciate your effort and will try to fix the article