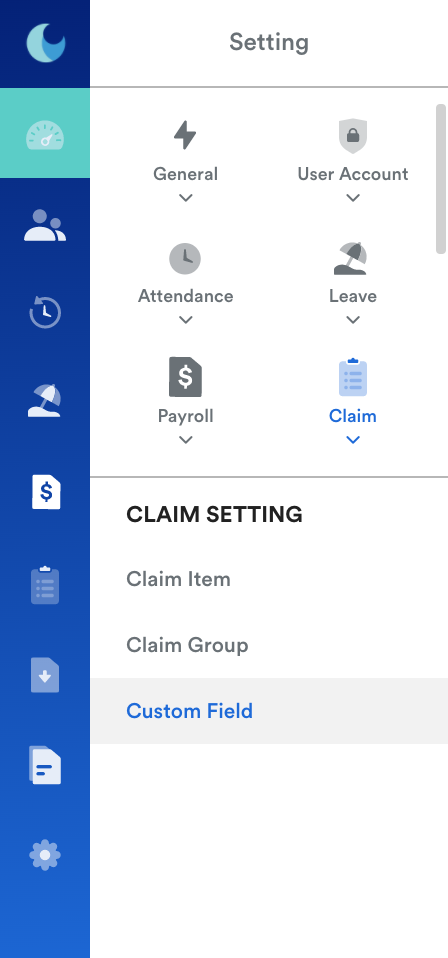
Step 1
On your homepage, go to your left menu, click on your Settings and go to Claim, then scroll down to click Custom fields.

Step 2
You will be directed to this page, where you can see the "Add New Field" button on the left side of your page. Click on that to add a new field.

Note: A new option to put in the name of the custom field will pop up, after you fill that in, click the tick to make a new field.

Step 3
You will then be able to add choices into your custom fields, your employee will be able to choose from the selected items you create. To do this, you can select the "Add Selection Item" button located on the right side of your screen.

Step 4
This is an example of what your screen could look like after you have added your selected items, you can enable each custom field by clicking the enable button. Click Save when you are done and these custom fields will now show up when your employee makes a claim request.

Step 5
Once your custom field is created, you should be able to find additional drop-down options when you are editing your claim item, as shown below:

Was this article helpful?
That’s Great!
Thank you for your feedback
Sorry! We couldn't be helpful
Thank you for your feedback
Feedback sent
We appreciate your effort and will try to fix the article