Replacement Leave (RL) in Worksy is a type of leave granted when an employee works extra hours and selects Replacement Leave as the Overtime Pay Mode instead of receiving Overtime Pay.
Follow this guide for a step-by-step walkthrough and explanation of each section involved in setting up and managing Replacement Leave.
To generate it for employees, you need to refer to Generate Leave Entitlement.
Step 1
On the left menu, go to Setting (a) > Leave (b) > Replacement Leave (c).

Step 2
Once you are directed to RL Listing, Click Replacement Leave and click Add New on the top right corner of the page.

Step 3
When you click Add New, you will see the General Setting that you can set for Replacement Time Off.
Fill in Leave Name and its Label. Both fields are mandatory in order to create an RL.

a) Replacement Leave From:
i. Working Hours
- Replacement leave will be calculated based only on an employee's scheduled working hours.
- Useful when employees work beyond their work schedule, but not entitled for overtime.
ii. Overtime
- Replacement leave will be calculated based only on approved overtime hours.
- Use this when overtime within approved hours is tracked and want to be compensated with RL instead of pay.
iii. Working Hours + Overtime
- Replacement leave is calculated based on the total of both an employee's scheduled working hours and approved overtime combined.
- Best for crediting employees the exact amount of RL they've earned from both sources.
b) Custom Approval Route: This is optional. If you select a custom workflow in this section, the employee approval will follow this route instead of the leave approval workflow that's been preset in the Approval Workflow settings.
c) Day Types included in Leave Taken: Select whether Off Day, Rest Day, or Holiday should be included in the leave calculation. If ticked, these non-working days will still be counted as leave taken.
Example: If ‘Off Day’ is checked, applying leave from Friday to Monday will be counted as 3 days (including the off-day), not 2.
d) Enable Earn Unlocked Attendance: If this function is disabled, the employee's attendance status must be "Locked" before the system can generate Replacement Leave. Replacement Leave will not be generated if the status is still "Pending".
e) Leave Credited from Attendance Module Will Expire Within: Choose how long the replacement leave will remain valid by Day(s), Month(s) or Specific.

If Specific is selected, you can define different expiry rules based on the month the leave is credited.
For each month, you can choose either:
End of Current Year: the leave will expire on 31 December of the same year it was credited.
End of Next Year: the leave will expire on 31 December of the following year.
Make sure you fill in all 12 months, without selecting the expiry options, which means these months will not have any expiry date.
f) Minimum Days required: The minimum number of leave days employees can request (e.g., 0.5). We recommend using whole or half-day increments.
g) Maximum Days required: The maximum number of leave days employees are allowed to request at one time.

h) Application for Future Leave: Set how many days in advance an employee must apply for leave before the intended leave date. If the leave is applied within this minimum period, it will be considered an unplanned leave.
Example:
Today is 14 July. You apply for replacement leave on 16 July.
If the minimum advance notice required is 3 days, the system will mark it as unplanned leave since the notice given is only 2 days.
If the leave date was 17 July or later, it will be treated as normal leave.
i) Application for Back Dated Leave: Set how many days after the actual leave date an employee is allowed to submit a backdated replacement leave application. If the leave is applied within this period, it will be considered an unplanned leave. If the leave date is older than the allowed period, the system will block the submission.
Example:
Today is 14 July. You apply for replacement leave on 11 July.
If the maximum allowed backdated period is 3 days, the system will mark it as unplanned leave because 11 July is within 3 days period.
If you applied for a date earlier than 11 July, the system would block the request.
Next, select which requirements will hide or appear on the leave application form, and set them as optional, required, or required if unplanned.

Note: Ticking Covering Person Required means employees must assign someone to cover them.
- The covering person cannot apply for leave on the same date they’re assigned to cover someone else.
- A covering person can only be assigned to one employee per day, they won’t be available to cover multiple colleagues on the same date.
- When a covering person is selected, the leave request must first be approved by the covering person. Only after that will it proceed to the next approver in the approval workflow.
Then, you will find tools as below. Choose either Yes or No based on your requirements.

- Allow Taking Unplanned Leave: enables employees to apply for replacement leave with shorter notice than the set requirement in "Application for Future Leave".
- Allow Taking Future Leave if Current Leave Balance is Zero: enables employees to apply for future dates even if their current replacement leave balance is zero.
- Allow to Apply Leave After Confirm only: restricts replacement leave applications to confirmed employees only. Employees in probation cannot apply for this leave type.
- Allow Cancel Request If It Has Been Approved By Any Approver: enables employee to withdraw their replacement leave request even after it has been approved.
- Allow Covering Person For Single Leave Only: A covering person can only be assigned to one leave application at a time.
Tips: You can read about Unplanned and Backdated Leave FAQ here - How to Solve "You are not allowed to take unplanned leave"You're now in Leave Info Display section.
- Select whether to display this Replacement Leave in My Request, My Individual Leave, and My Leave History.
- If unselected, only pending and taken are displayed in My Request, My Individual Leave, and My Leave History.
Select Display in Payslip if you want RL Balance, Taken, and YTD to appear in Payslip (Detailed Layout)

Scheduler: This feature allows you to automate the generation of replacement leave entitlements for existing staff and/or new joiners, and choose how often it runs (daily, weekly, or monthly).
Note: The scheduler will recalculate the last 3 months up to today. If you have updated the setting, scheduler runs will follow the latest setting for normal earn. Even if you have manually edited the expiry date in the leave history (refer here). Scheduler run will not affect brought forward and batch adjustment earned leave.
Step 4
In this step, you'll set the conditions for how many Replacement Leave days should be credited based on the number of hours worked.
- Set the range of hours (e.g. 0 to 4 hours) that will be used to determine eligibility for Replacement Leave.
Note: Make sure this is a continuous range to ensure the system captures the OT hour.
Example:
0-4 hours, 0.5 RL;
4-8 hours, 1.0 RL;
8-12 hours, 1.5 RL. - Specify how many days of Replacement Leave to credit for each range.
Example:
If an employee works between 1 to 2 hours, then 1.0 day of Replacement Leave will be credited to their balance.
Note: Failing to fill in the continuous range and credit amount by days will lead to no replacement leave being credited to employees.
The Entitlement Table format will vary depending on your selected calculation mode (working hours, overtime, or working hours + overtime) set in Step 3a.
Note: Fill in the hours and credit amount for relevant day types depending on whether you would like this Replacement Leave credited on workday, offday, restday, or holiday.

Step 5
Click continue and choose which of your employees are entitled to the RL settings that you have set in the previous steps.
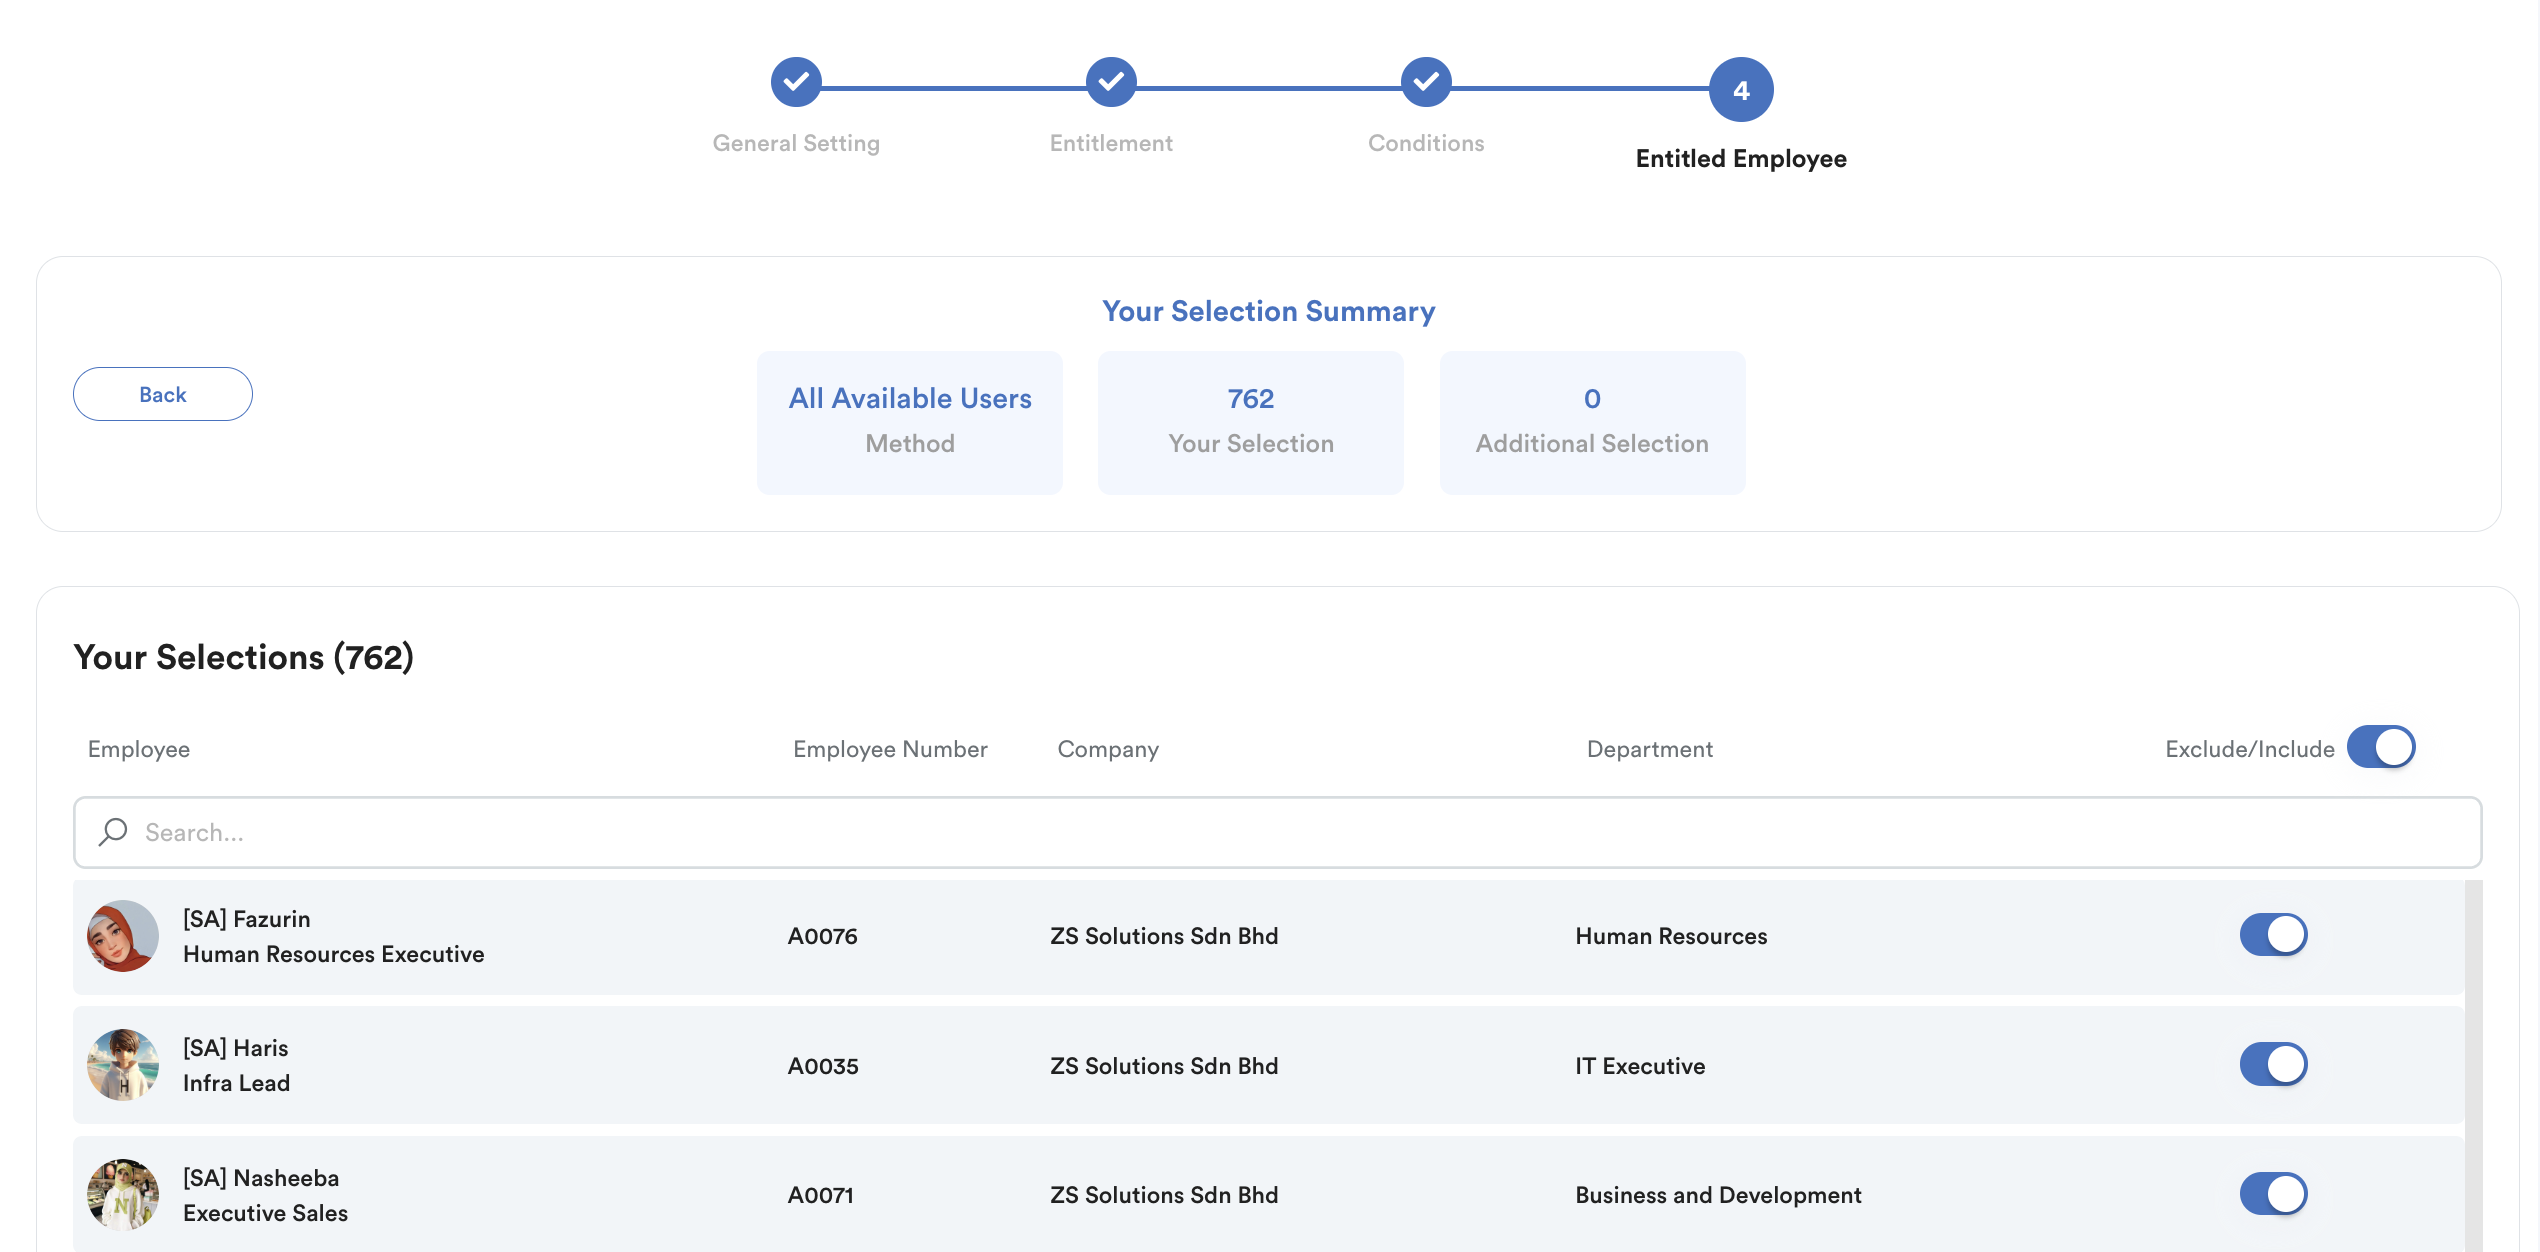
Lastly, click Save to complete the setup. Now you’ve successfully set up a new Replacement Leave!
We hope this explanation clarifies the matter. If you require additional assistance, do not hesitate to contact our support team.
Was this article helpful?
That’s Great!
Thank you for your feedback
Sorry! We couldn't be helpful
Thank you for your feedback
Feedback sent
We appreciate your effort and will try to fix the article