Step 1
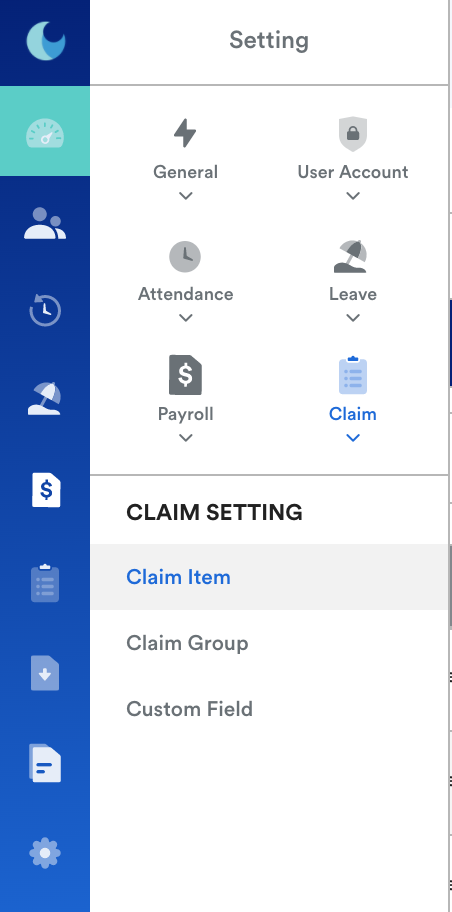
On your homepage, go to your left menu, click on your Settings and go to Claim, then scroll down to click Claim Item.

Step 2
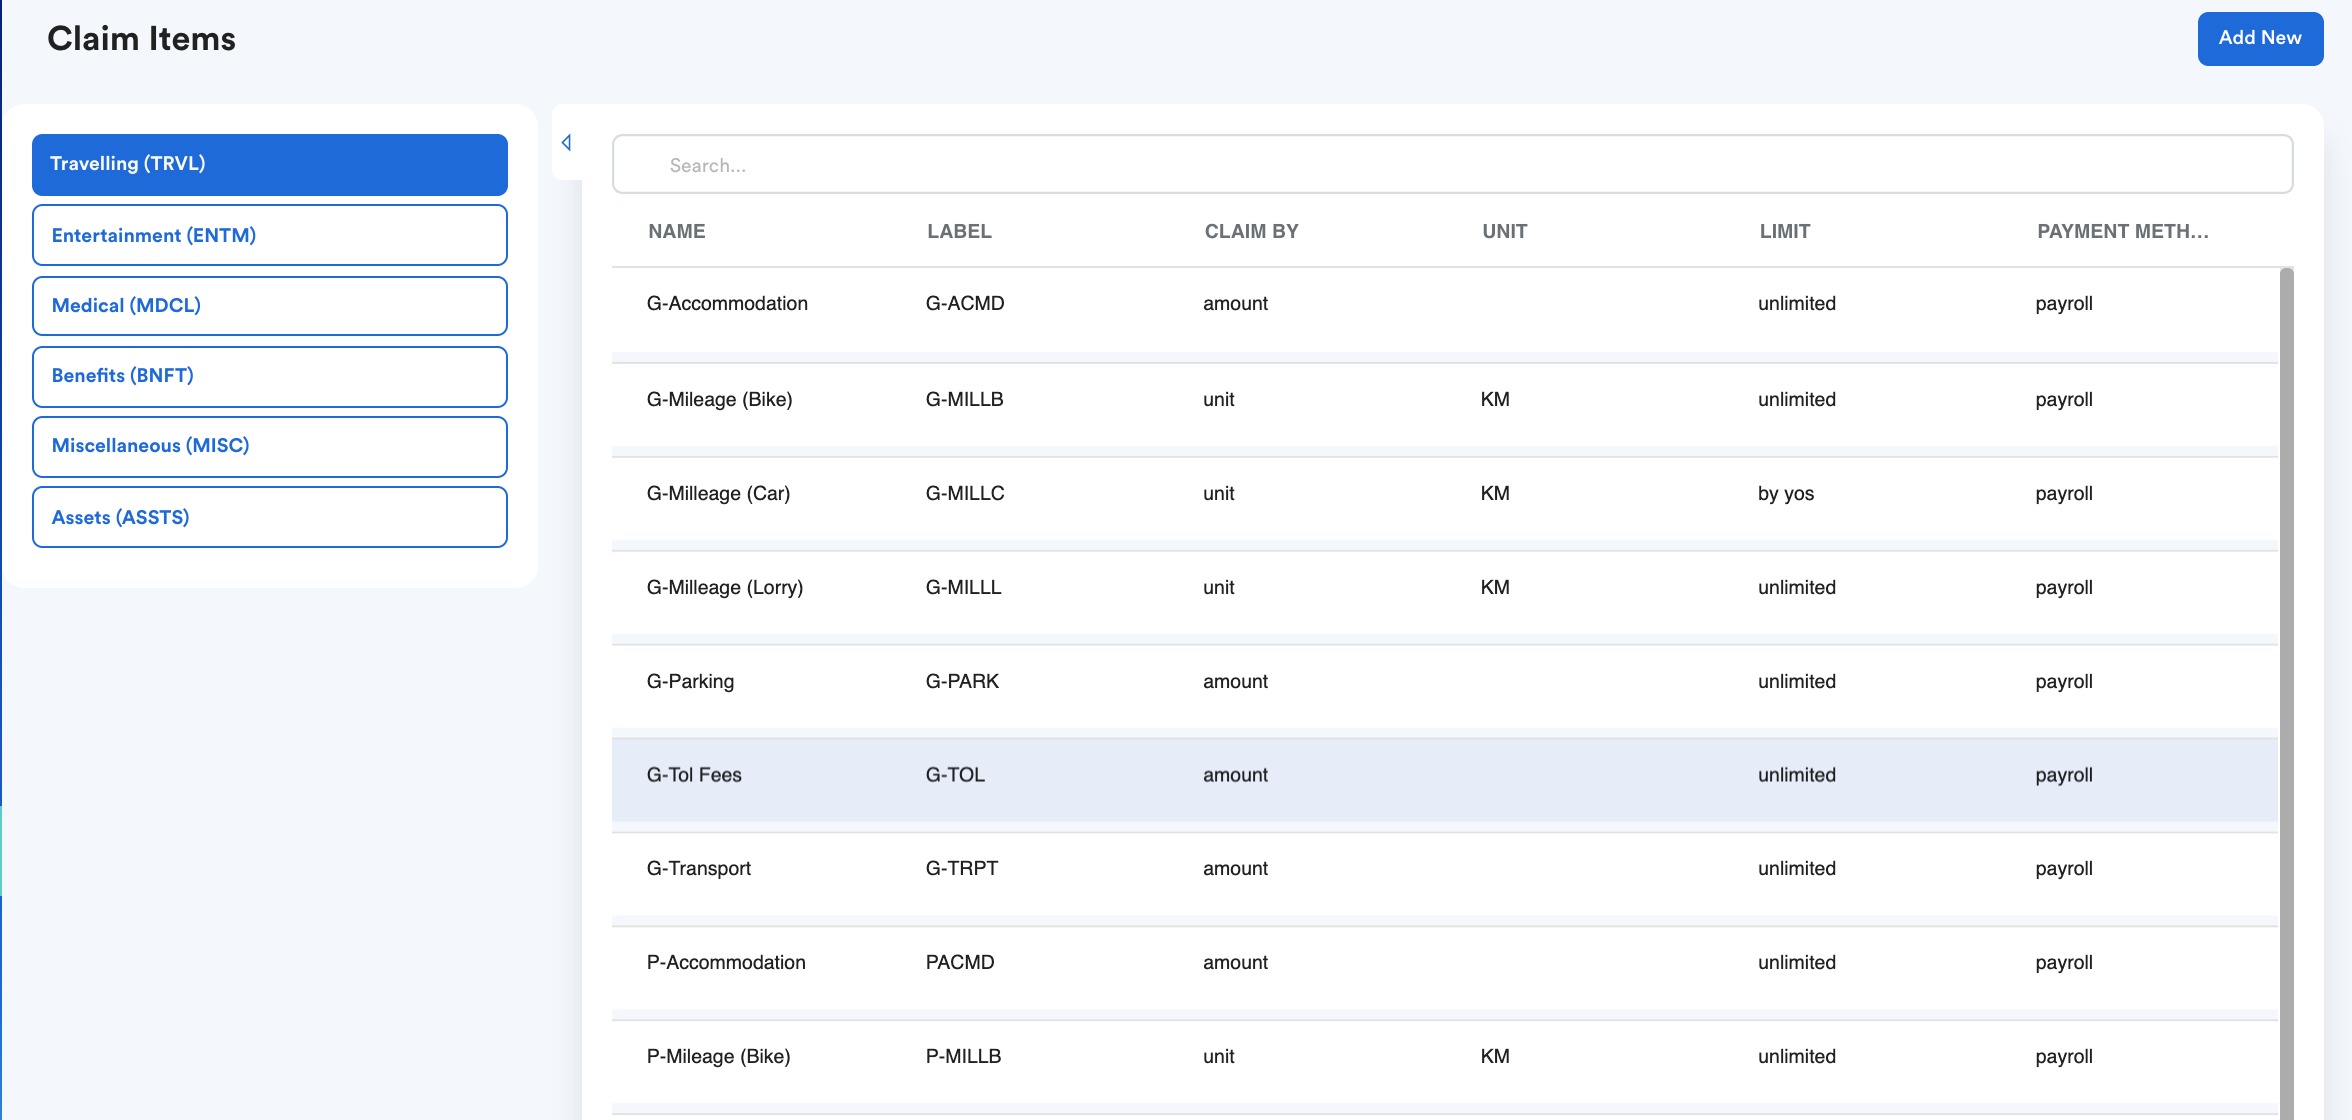
You will then be redirected to this page, click on Add New, or click on one of your claim items to edit and set up dependant claims.

Step 3
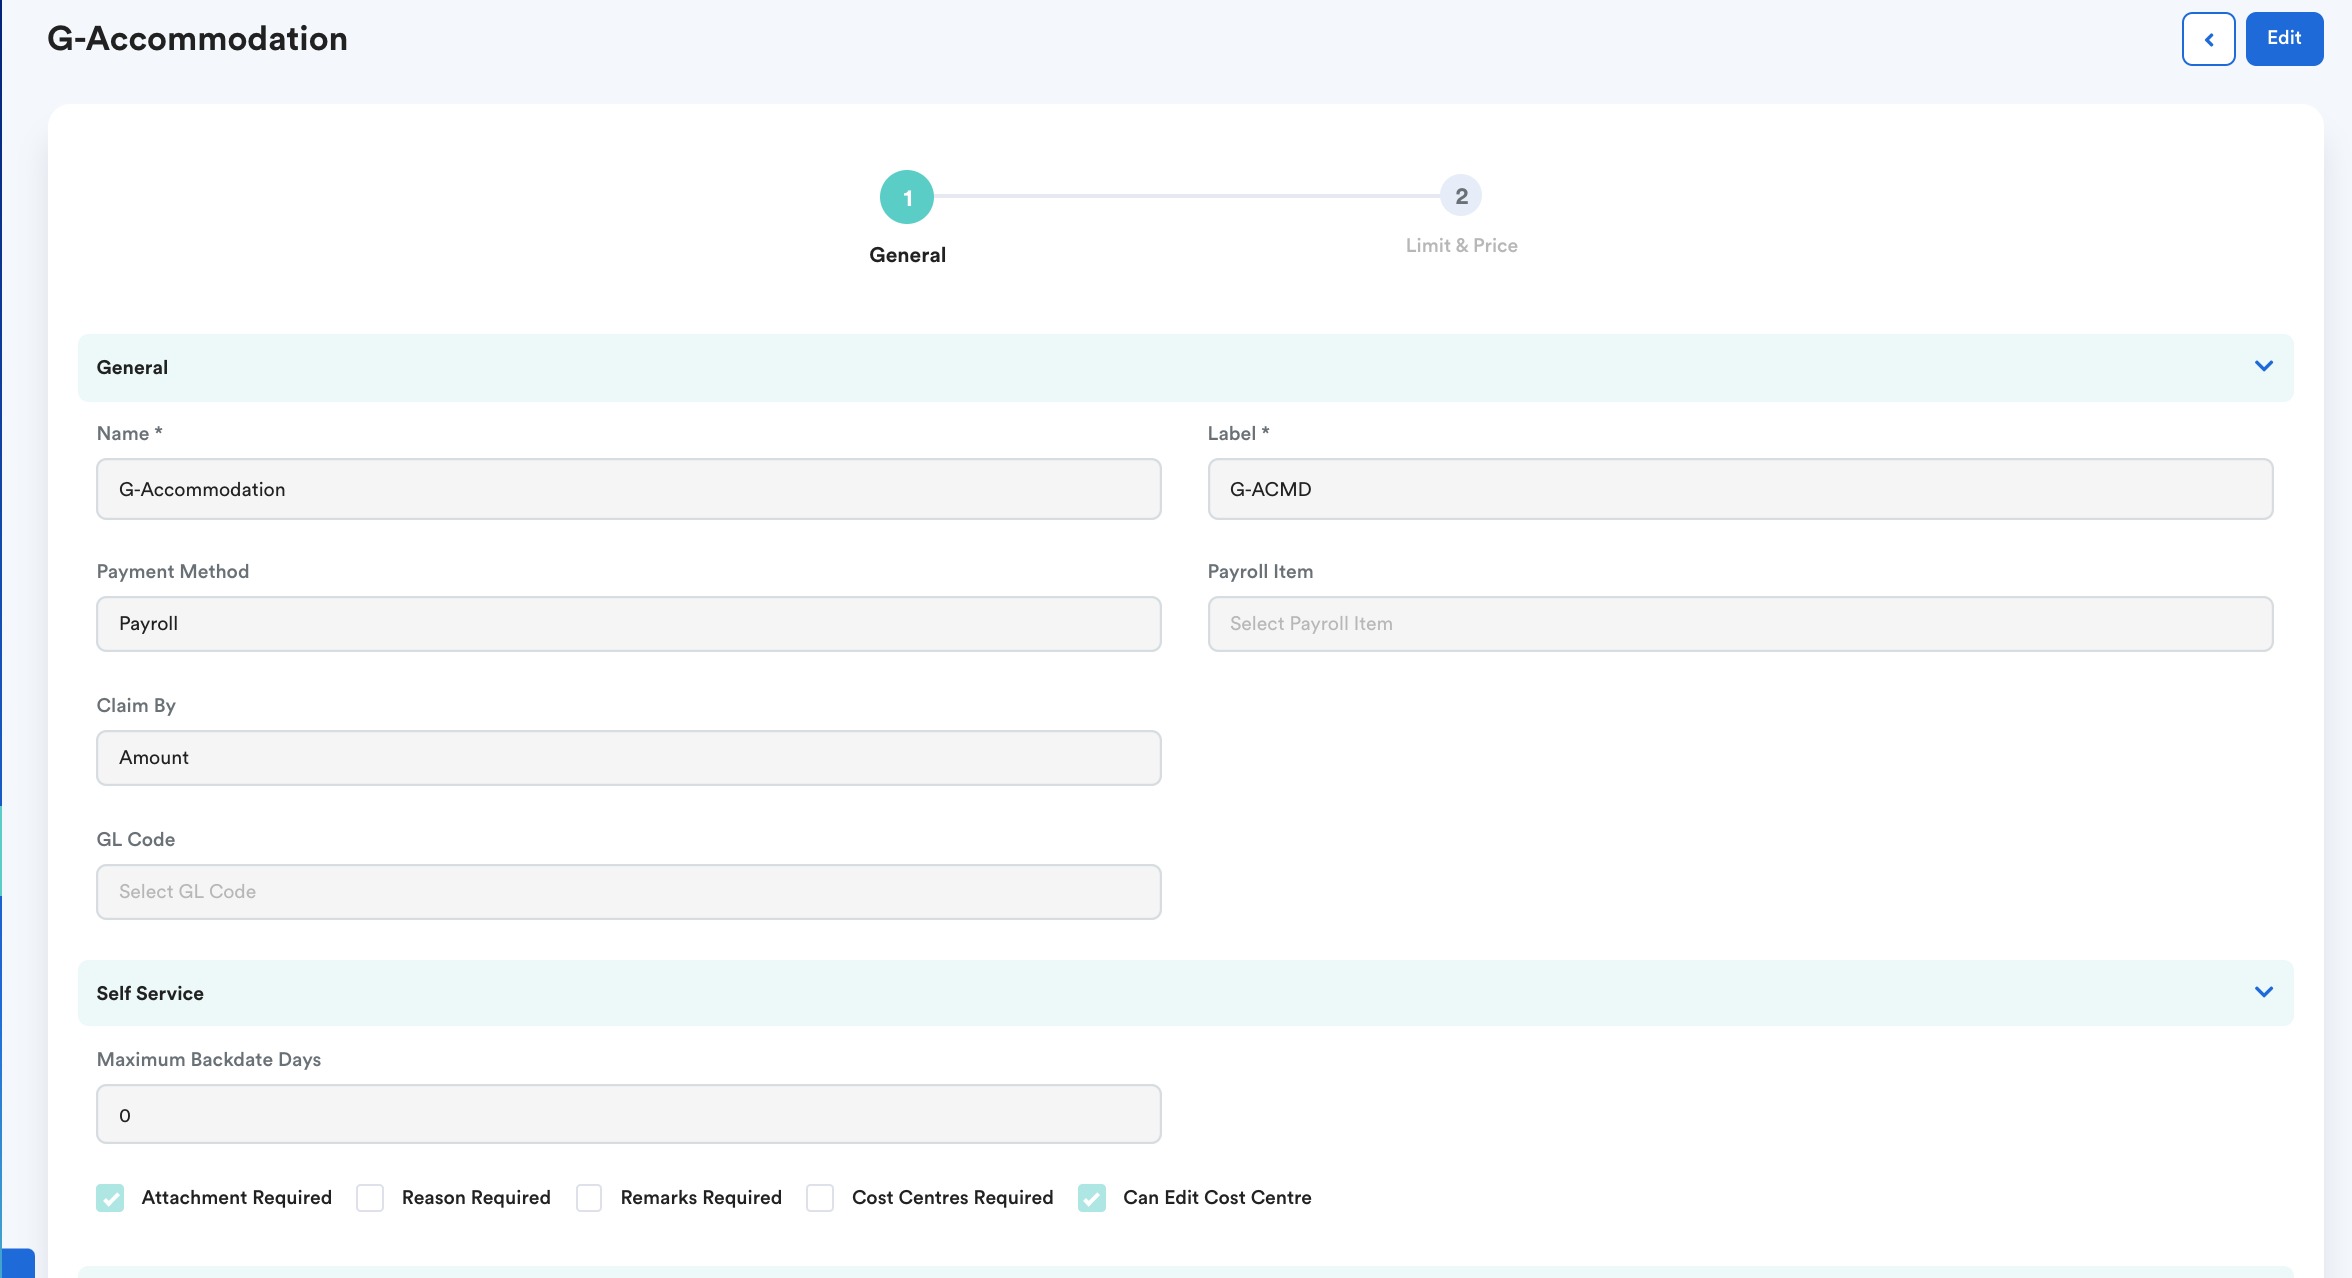
Click the Edit button on the top right corner of the page and fill in the details below if you haven't already.
Then, click on the second column, labeled "Limit & Price" to choose your dependent claims.
For more information on how to fill out the first page, you can refer to this article Creating Claim Items & Setting Claim Limit: Knowledge Base (freshdesk.com).

For the purpose of this guide, we are going to use the Accommodation claim as an example.
Step 4
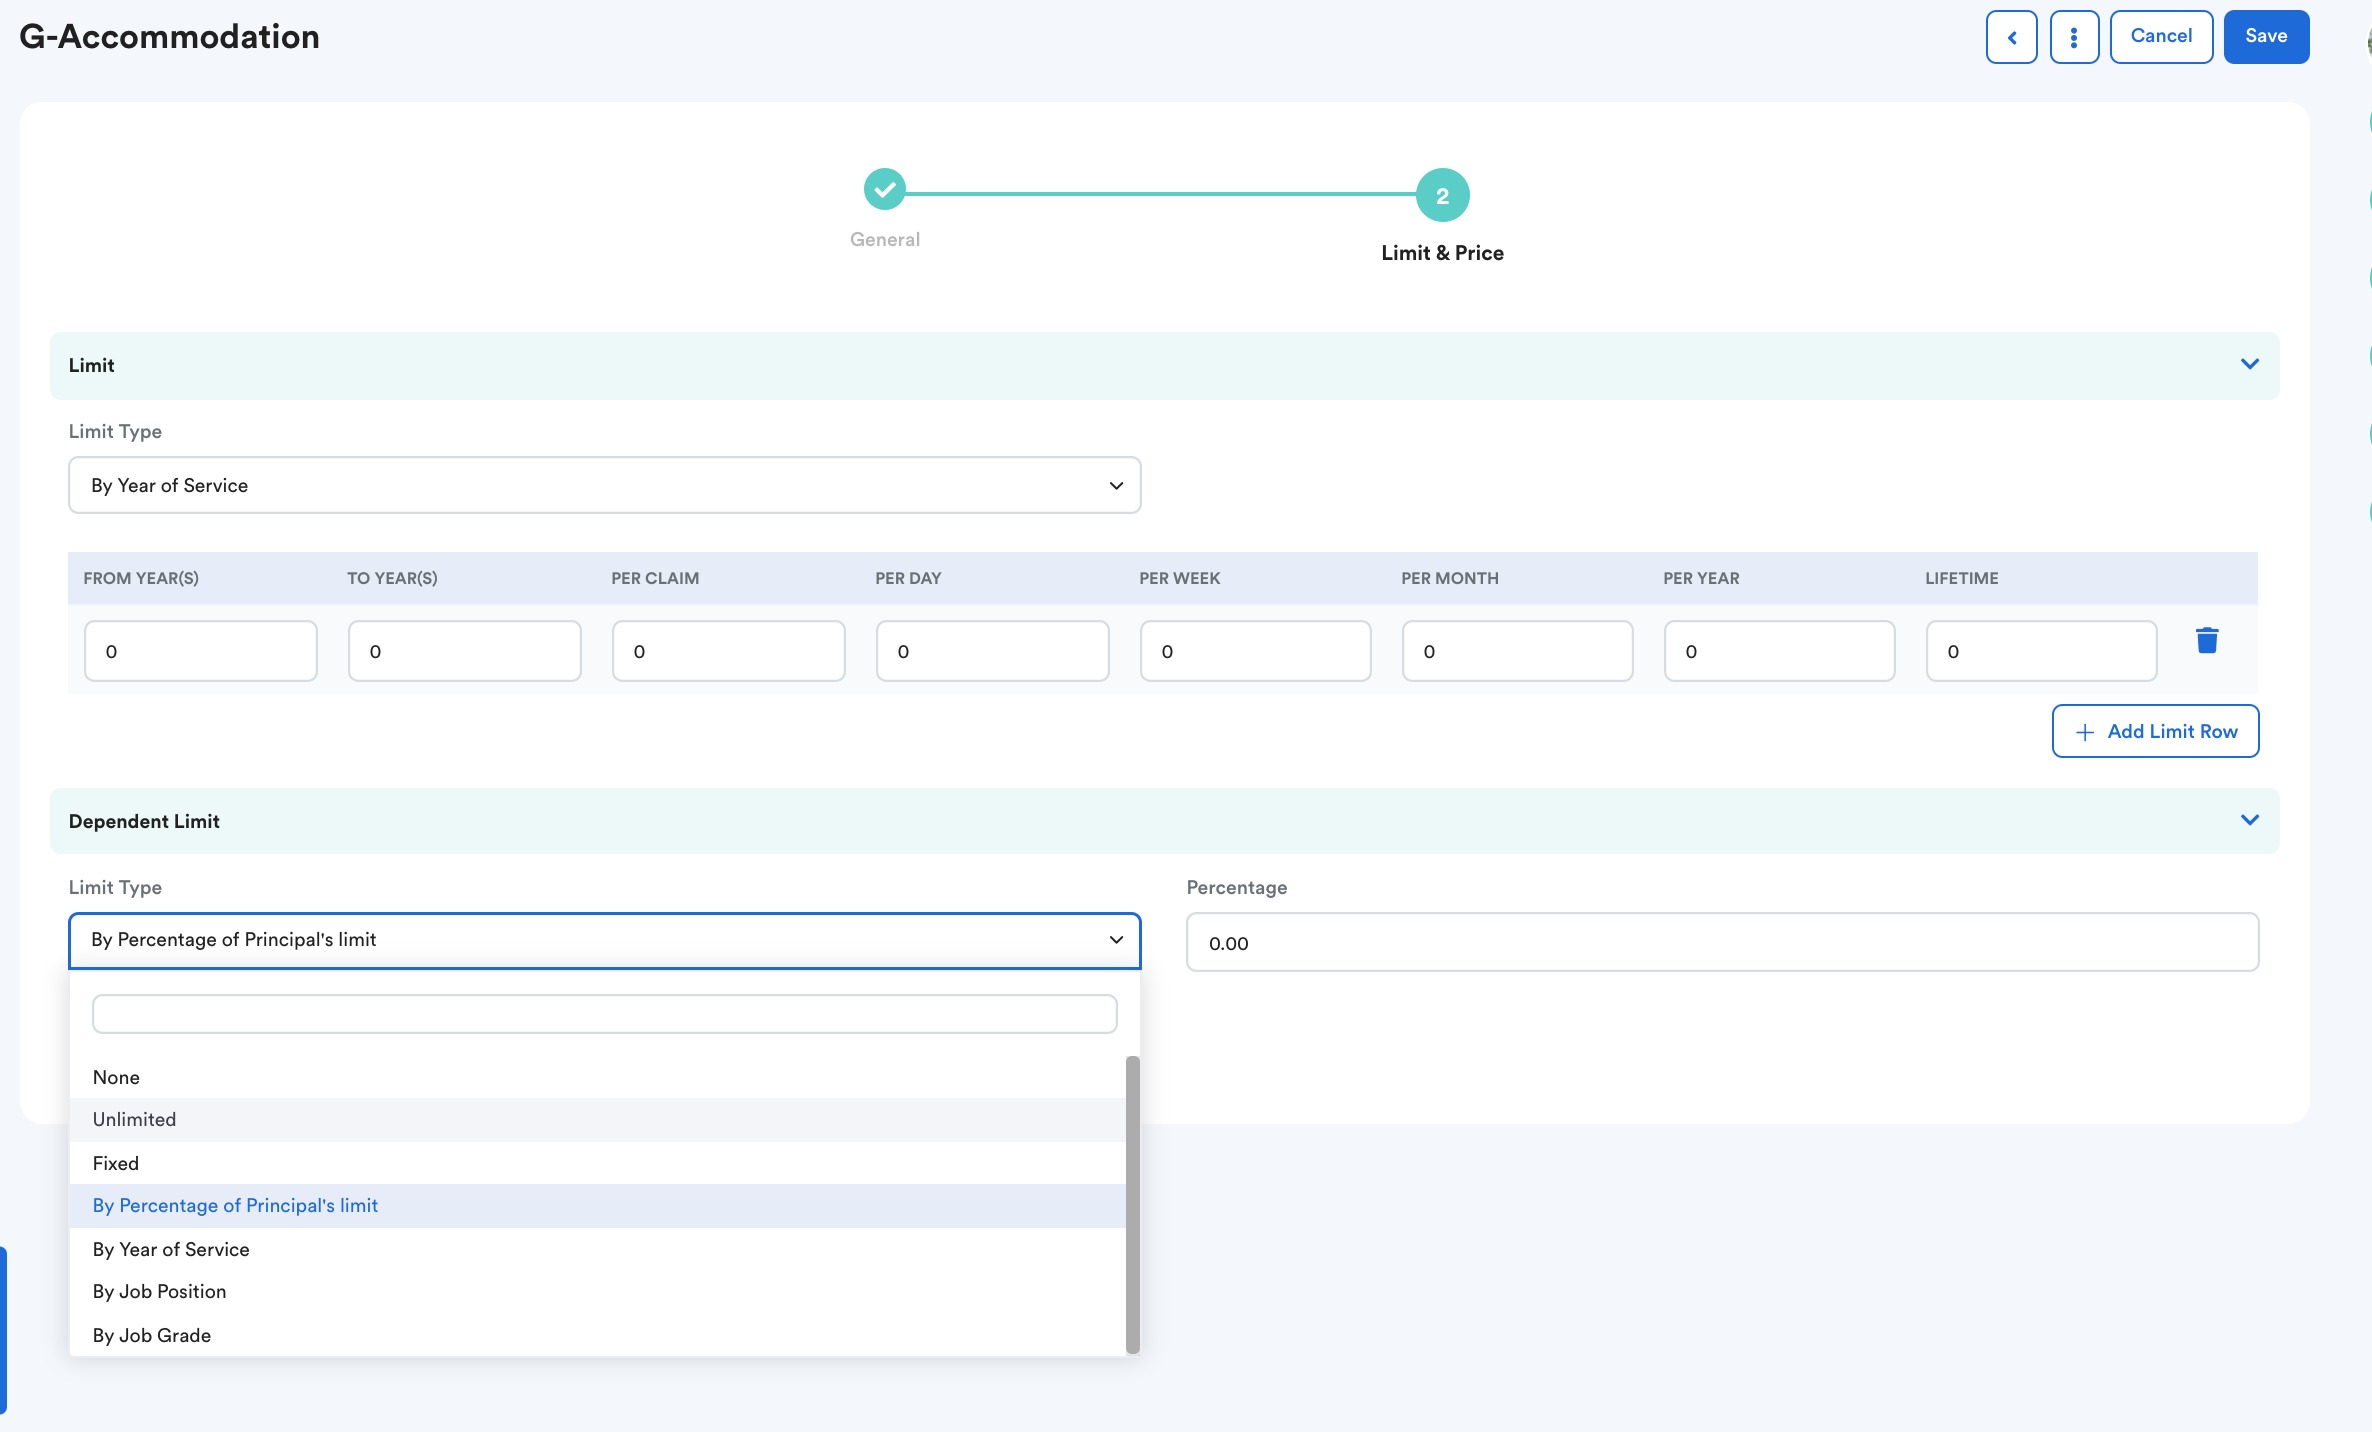
You will then see this page, where you can choose your "Limit Type" and specify how much claim entitlement you want to give to your employees.

You can click on the "Add Limit Row" to add the specific day/week/month/year that the entitlement will refresh.

Step 5
After you are done filling that out, you can scroll down the page to fill in your "Dependent Limit".
You can choose any of the limit types down below, but for the purpose of this guide, we will use "By Percentage of Principal's Limit" as an example.
This means that you can set the percentage amount of claim the dependent will receive. You can put the percentage down in the box next to the Limit Type.

Note: Once you fill this out, you will have the choice of whether you want the dependant claim to be shared or not.
For example, your employee may have RM 1000 of accommodation leave, but if you click the Shared Limit button, this means that your employee and his/her dependent person will share the same amount. Thus, if your employee uses RM600 of their accommodation leave, that means the dependent person will have RM400 left. If you do not click the Shared Limit button, then they will have separate claim entitlement amounts. Furthermore, you can also click the "Required to select dependent" button to make it compulsory to select a family member from their user profile.

Step 6
Once you are done filling out the information, click the Save button on the top right corner of your screen.

Was this article helpful?
That’s Great!
Thank you for your feedback
Sorry! We couldn't be helpful
Thank you for your feedback
Feedback sent
We appreciate your effort and will try to fix the article