Before you will be able to link the GL code to your Claim Item, you will first need to create the appropriate GL code in the system first.
To create GL code, please follow the steps below:
Step 1
On your homepage, go to your left menu, click on your Settings and go to General, then scroll down to click System Labels.

Step 2
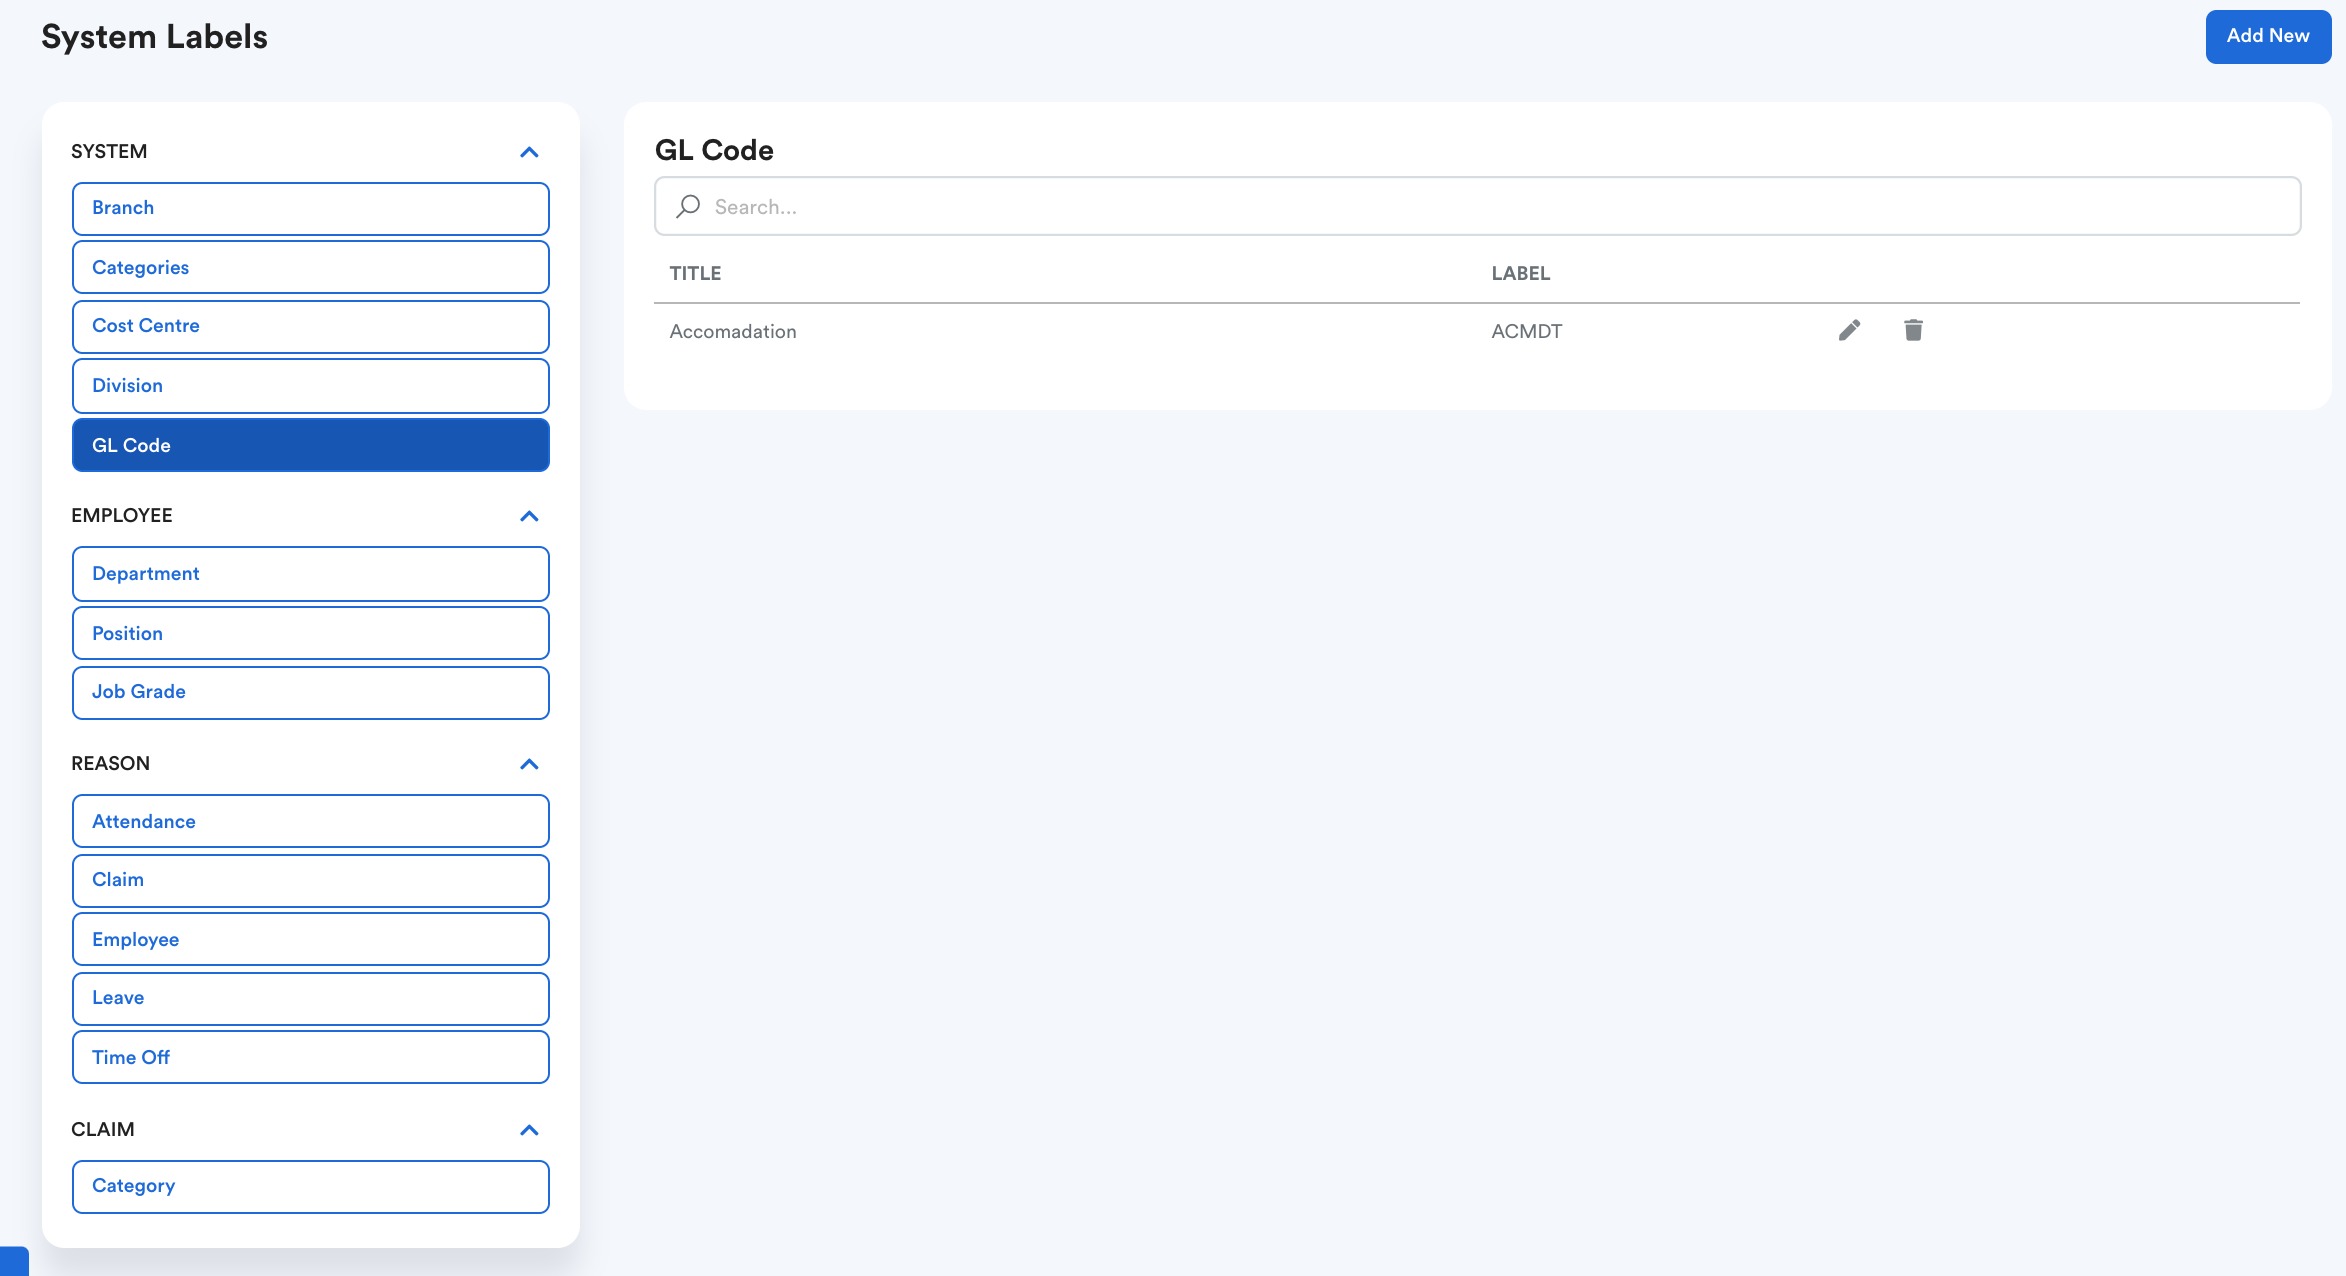
You will be directed to this page where you will choose GL Code in the 5th row of items on the left. There will be a list of existing GL Codes you have created. Click Add New to set up a new GL item.

Step 3
A new blank space will open up for you to enter your Title and Label.
Click the save icon located next to the label box when you are done filling them out. This GL Code will now be present in the system.

Now that you have created the appropriate GL code, the next step is to link it to your Claim Item
Step 4
Next, proceed to the Left Menu, select Claim, and click on Claim Item as shown below.

Step 5
Once you have clicked on the Claim Item, you will be able to see a list of claim items that you have previously created as shown below, otherwise, go to the following guide here Creating Claim Items to learn how you can create new claim items.

Start by choosing the claim category displayed on the left (e.g. Travelling TRVL) and select the claim item you would like to link to the GL code on the right.
Step 6
Once you have selected a claim item, you will be brought to a screen as shown below, this is the setup screen for this claimed item.
To start linking this claimed item to a GL code, click on the Edit button in the top right corner

Step 7
Once you have clicked Edit, you will find the GL code field under the General section.
Click on it and you should be able to find the GL code that you created earlier in the drop-down list.
When you are done, be sure to save your changes by clicking on the Save button in the top right corner.

Step 8
Now that you have linked the GL code to this claimed item, the next time you process payroll just make sure to tick the Pull Claim Data Button as shown below.

Was this article helpful?
That’s Great!
Thank you for your feedback
Sorry! We couldn't be helpful
Thank you for your feedback
Feedback sent
We appreciate your effort and will try to fix the article