Use the Notice Board to keep everyone in the loop — whether it’s an upcoming event, office closure, or company-wide update. Announcements appear right on the dashboard for all employees to see.
You can also schedule announcements ahead of time. They’ll automatically appear on the Notice Board once the start date is reached, and disappear once the end date passes.
You may scroll down to understand Notice Board Pop Up Frequency:
Step 1
On your left side menu, click on Employee (a) > Notice Board (b)

Step 2
On the Notice Board page, you’ll see a list of all published announcements.

To create a new one, click the Add New button at the top right of the page.
Step 3
This is where you compose the content and details of your announcement. Here’s a quick guide to each field:

- Start Date & End Date*: Both the start and end dates are required fields. The start date indicates when the announcement will begin displaying to employees, while the end date determines when it will expire and automatically disappear from the Notice Board. This helps ensure that only current and relevant announcements are visible.
- Title*: This is a compulsory field. It’s the headline your employees will see on the Notice Board at their dashboard.
- Content*: Use the text box below the title to add more details.
Note: A, B, and C are required fields. If you did not fill in, you will see this error prompt.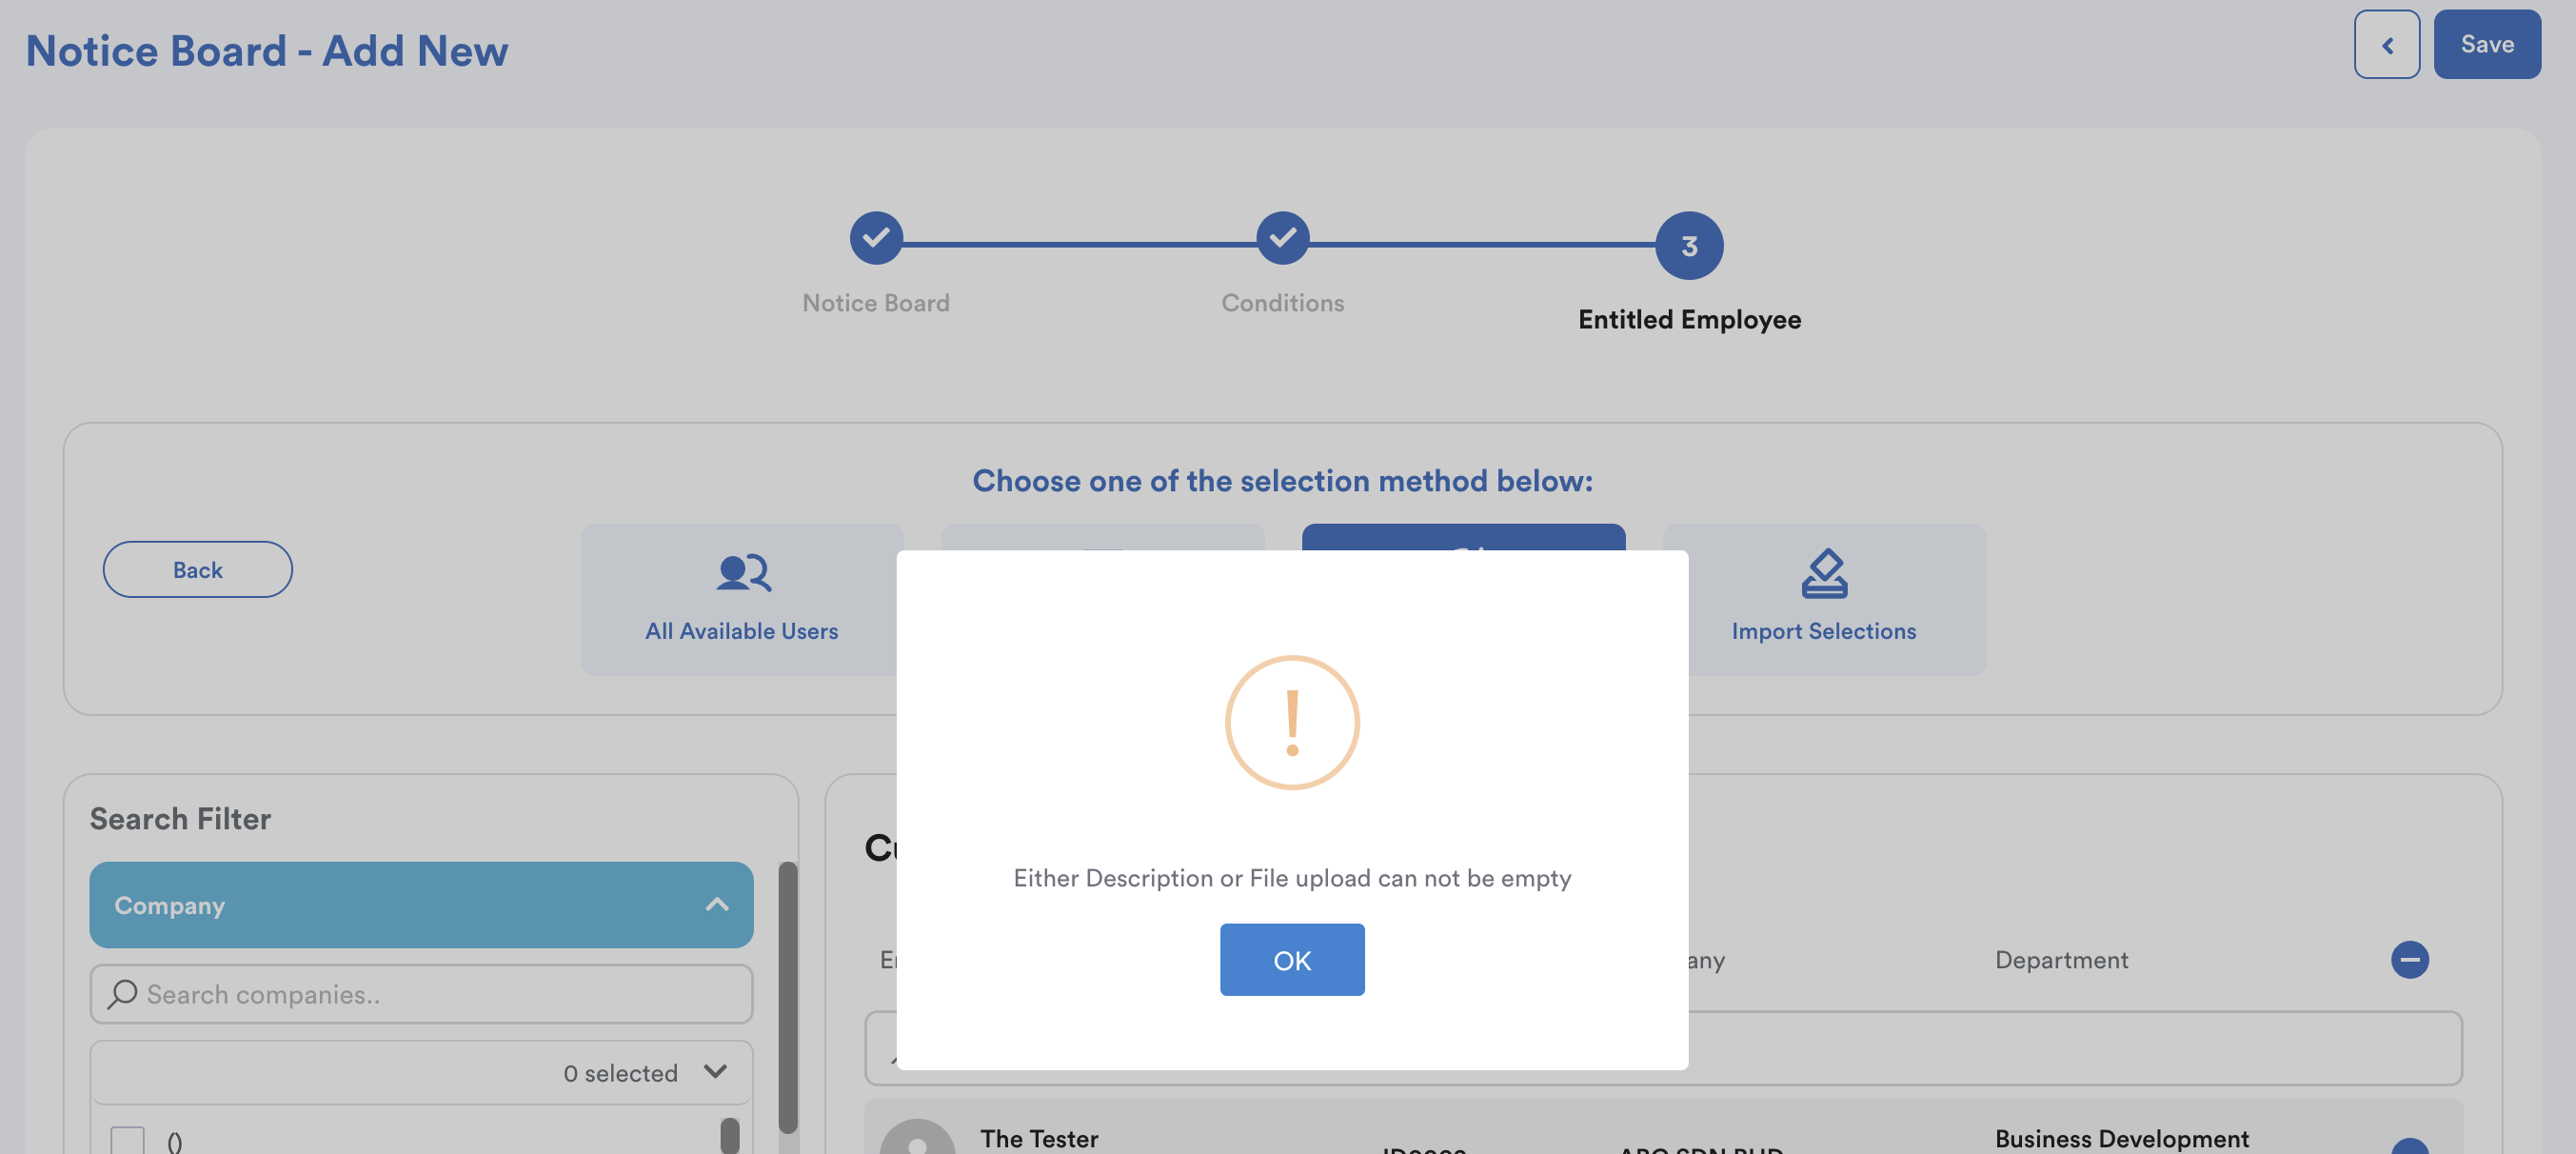
d. Attachment: Upload any related files in PDF. Employees can click to view or download.
Note: Please be informed that, by default, attachments are set as "View Only". To enable downloads, please select the option "Allow recipients to download attached documents".
e. Post as Company: Choose which company (if applicable) will be shown as the sender of this notice. If this is not toggled on, the notice will show the poster’s name instead.
f. Required Acceptance: When enabled, a new box will appear where you can add an agreement message (e.g. “I hereby acknowledge…”). You can tick on First & Last Name Required if you want staff to enter their names when acknowledging.
g. Display End Date: Uncheck this if you don’t want the end date shown to employees. The notice will still expire after that date.
h.Send Email Notification: Enable this to notify employees by email once the notice is published automatically.
i. Notice Board Pop Up Frequency: Toggle this on to make the notice appear once or every time log in to Worksy on their dashboard.
Here's how the pop-up works based on your settings:
When "Required" is off and "Show" is set to "Show once":
- The pop-up appears once for each newly published notice. After that, it won't show again.
When "Required" is off and "Show" is set to "Every time":
- If you click Noted, you won't see the pop-up again;
- If you don't click Noted, the pop-up appears every time you log in
When "Required" is on and "Show" is set to "Show once":
- The pop-up appears once for each newly published notice. After that, it won't show again.
When "Required" is on and "Show" is set to "Every time":
- The pop-up appears every time you log in until you click "I accept" or "Acknowledge".
In conclusion, "show once" allow to show only one time for newly published notice. "show everytime" will show in every login until user has "acknowledge" the notice.
Step 4
Once you’ve completed the announcement details, click Next to select the group of employees who should see the notice on their Notice Board.

Click Next again to view the Entitled Employee list — this shows exactly who will receive the announcement.
Once you are satisfied with your announcement details, click Save on the top right corner of your screen.
Note: Include and exclude employees will trigger the notification again. If you want to send notification to your employees, simply exclude them, save, and then include them again.
Step 5
The announcement will now appear on the Notice Board section on dashboard if they are the entitled employee.

Click on any live announcement to see how it shows up for everyone.

Want to view notice board activity? You may generate notice board report, check out: Generating Report for Notice Board
We hope this explanation clarifies the matter. If you require additional assistance, do not hesitate to contact our support team.
Was this article helpful?
That’s Great!
Thank you for your feedback
Sorry! We couldn't be helpful
Thank you for your feedback
Feedback sent
We appreciate your effort and will try to fix the article